Managing Complex Appliances using the GUI
Before launching a Complex Appliance, make sure that you have a reservation for the appropriate node types and a key pair configured. Since most Complex Appliances will consist of multiple nodes, make sure you have set the Minimum Number of Hosts in your Lease. You will also need a Template file or the URL for a Template file from the Appliance Catalog. At CHI@TACC site or CHI@UC site, go to Project > Orchestration > Stacks use the navigation side bar.
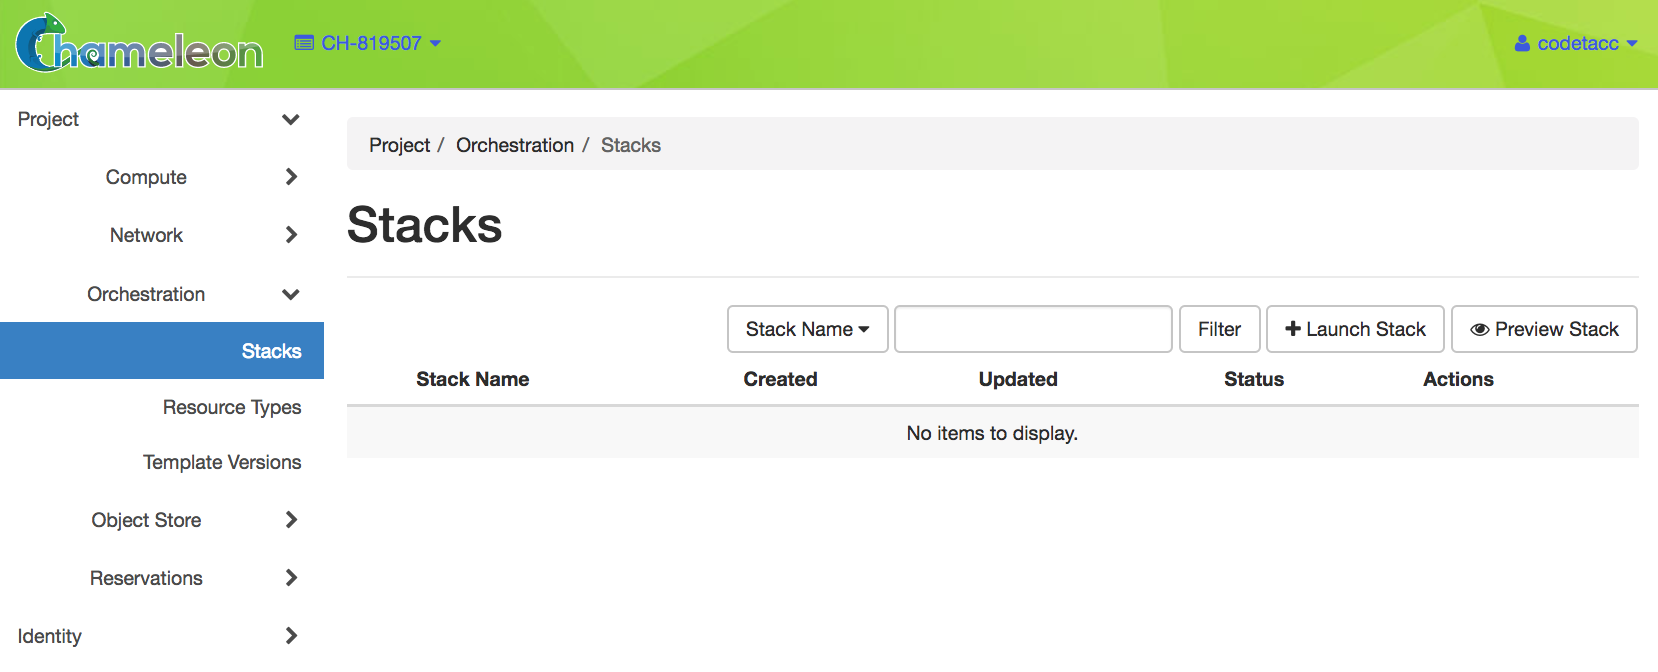
The Stacks page
Tip
You can go to Stacks page directly from the Appliance Catalog.
Go to the Appliance Catalog and identify the appliance you want to launch. Click on it to open its details page.
Click on the “Launch Complex Appliance at
CHI@TACC” or “Launch Complex Appliance atCHI\@UC” button depending on where your reservation is created.
Launching a Complex Appliance
To launch a stack, click the Launch Stack button in the upper right of the Stacks page. Then follow the steps:
Start setting up a Template by choosing a Template Source in the dropdown. You may either select the File option as Template Source and upload the Template file, or select the URL option and provide the URL of the Template file.
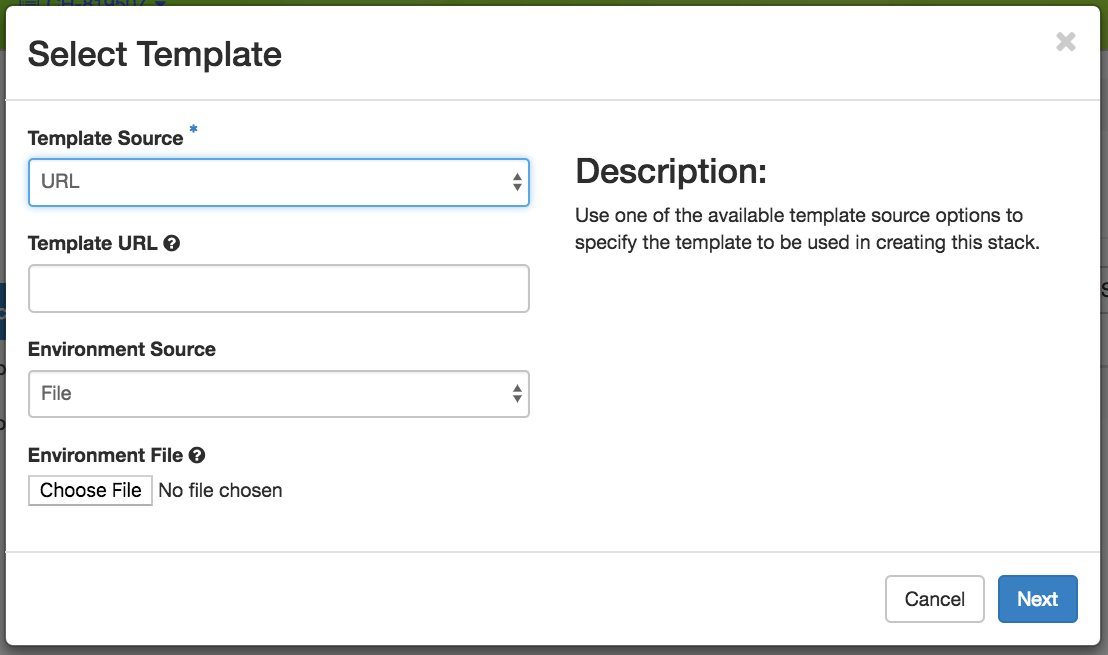
The Select Template step
Important
Do not change the environment source settings!
Once you have provided a Template, click the Next button. Chameleon will validate the Template file and proceed to the Launch Stack step.
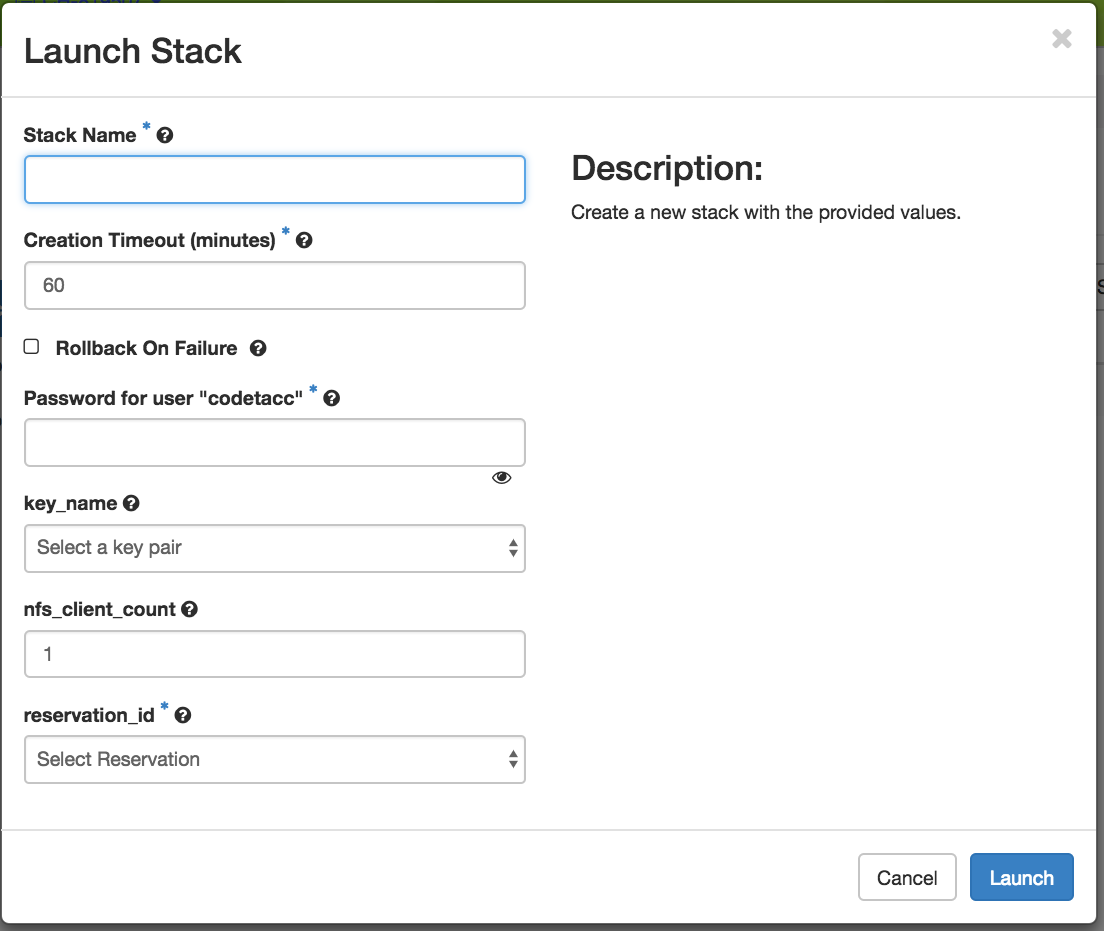
The Launch Stack step
Choose a name for your stack. Ignore the “Creation Timeout” and “Rollback On Failure” settings. You also need to enter your Chameleon password. Then, you need to select a value for the parameters of the template. Finally, click the Launch button.
Your stack should be in status “Create In Progress” for several minutes while it first launches the server instance, followed by the client instances. It will then move to the status “Create Complete”.
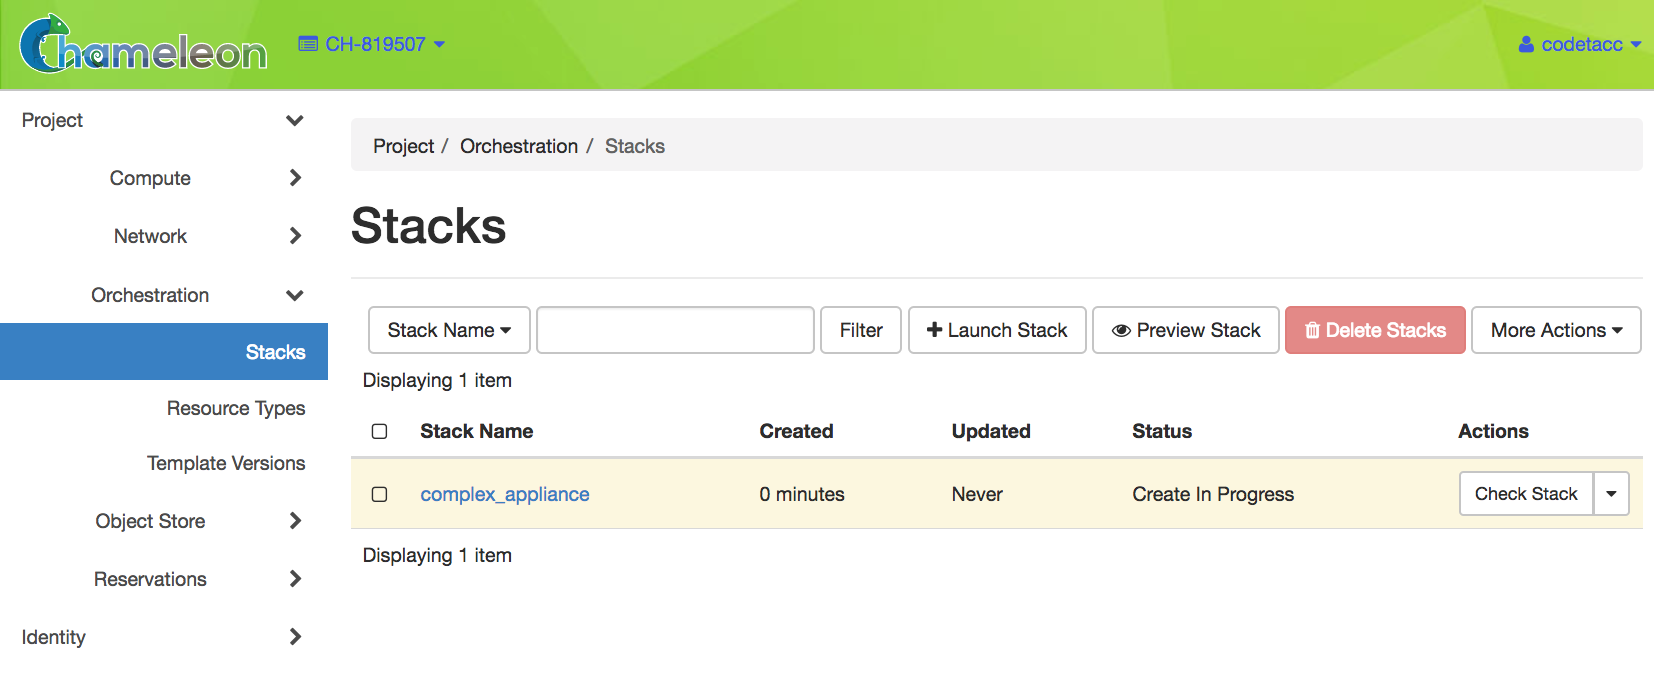
A Complex Appliance with the Create in Progress status
Monitoring a Complex Appliance
To monitor and get more details about your Complex Appliance, click on it in the Stacks page.
The Topology tab displays a topology graph of the stack. The rack of machine represents the client instance group. The server’s floating IP (the public IP assigned to a resource) is represented by an IP in a circle; while an IP in a circle is also used to represent the association of the IP with the server instance (not the greatest idea to use the same symbol for both the IP and the association – we agree but can’t do much about it at the moment). Blow off some steam by dragging the visualization across the screen, it can be rather fun!
Note
Blinking nodes indicates that they are still provisioning.
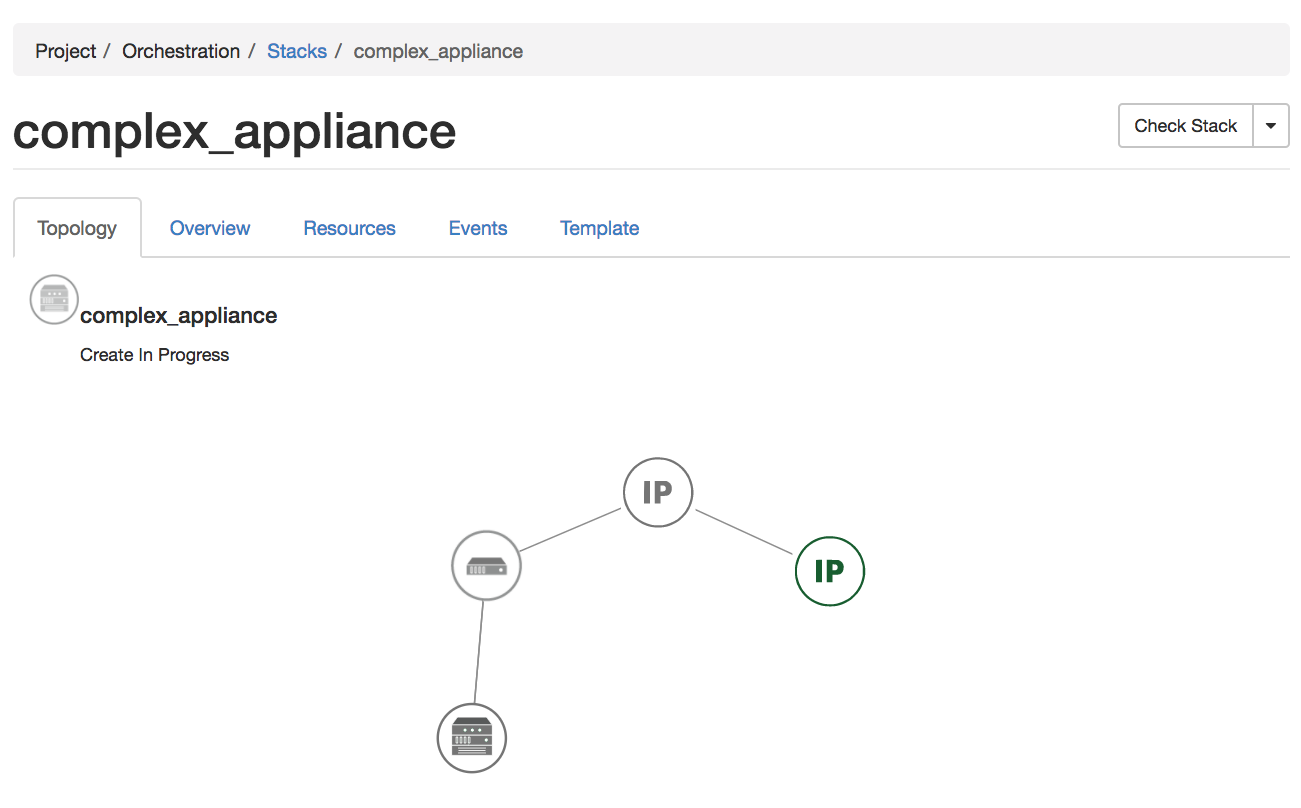
The Topology tab
The Overview tab displays various parameters, including the ID of the stack and Outputs such as IP addresses assigned to each node. If you have a floating IP associated to the server, you can now
sshto the server using the floating IP just as you do with regular instances. The client may not have a floating IP attached to it, but you can connect to it via the server node with the client’s private IP.Tip
To talk to the client without an associated floating IP, connect to the server with
ssh -Ato enable the SSH agent forwarding after loading your key to your SSH agent withssh-add <path-to-your-key>.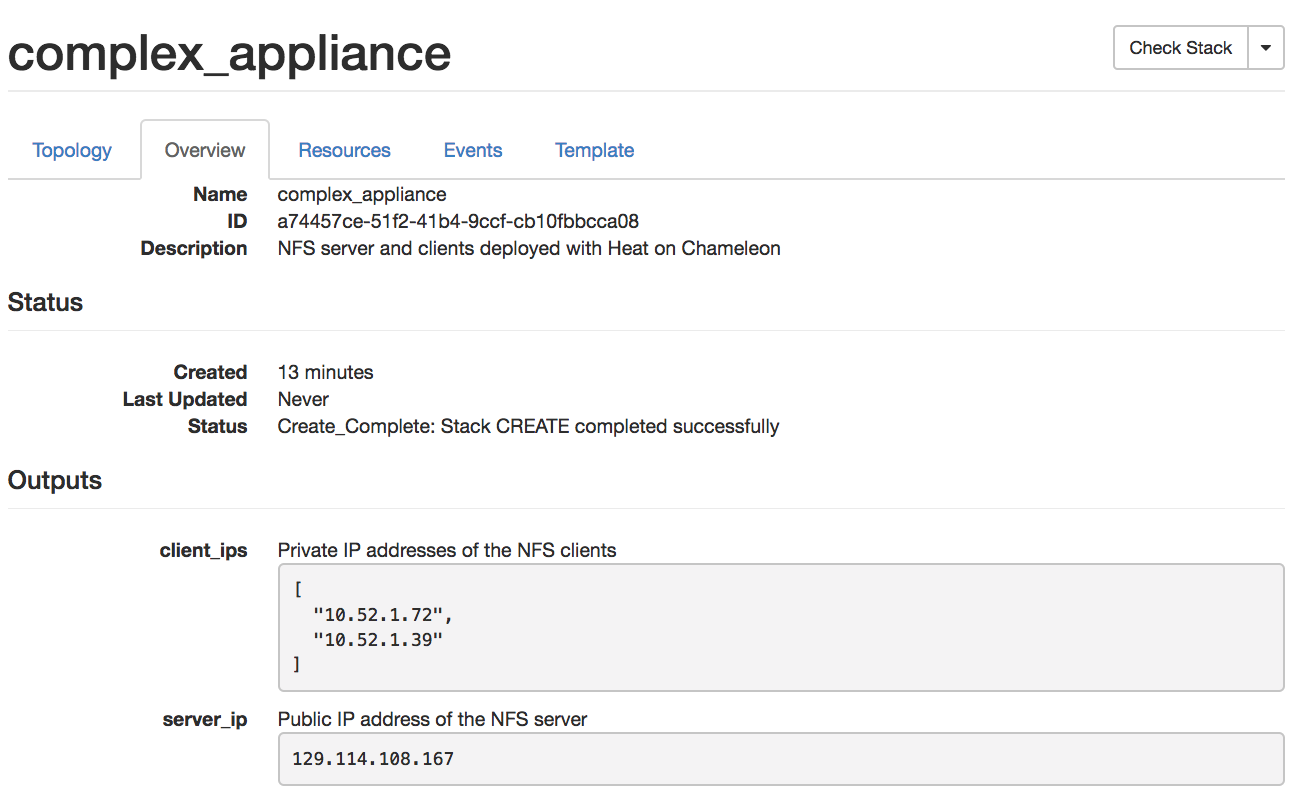
The Overview tab
Under the Resources tab you will see the resources of the stack (the server, clients, server’s public/floating IP, and its the association) and information about them.
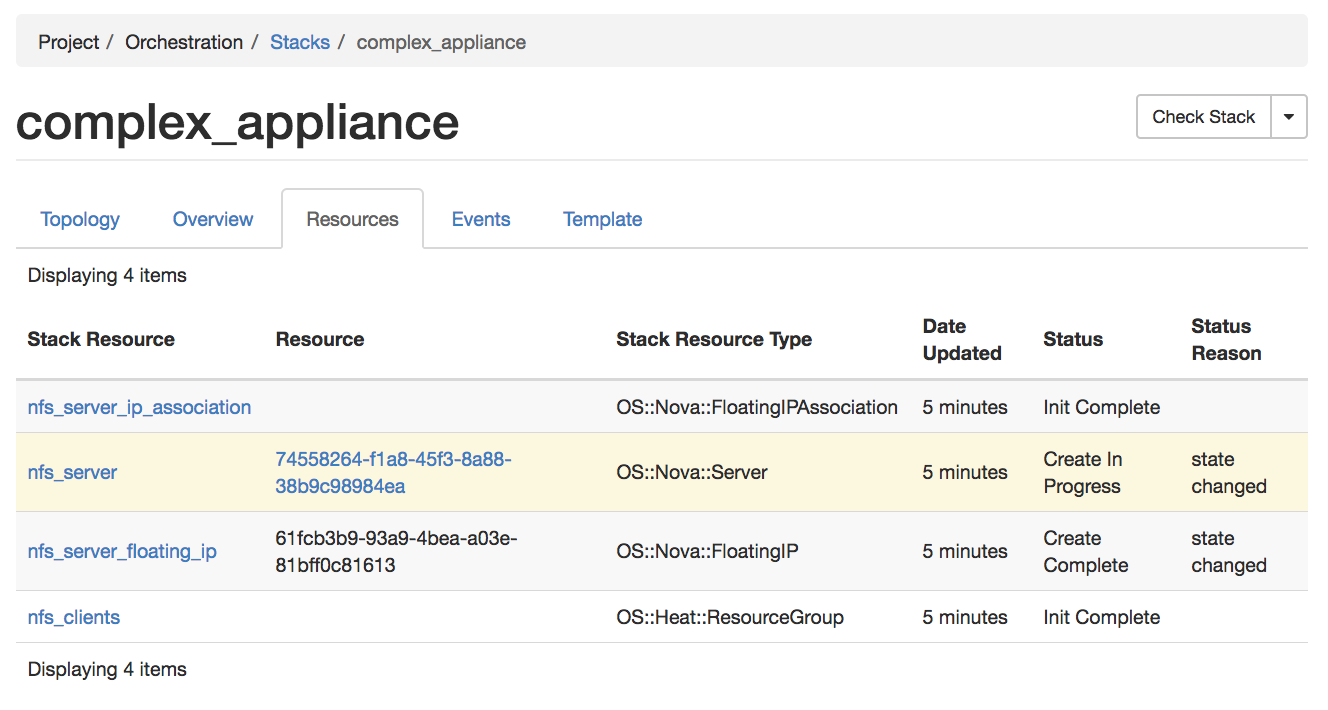
The Resources tab
In the Events tab you will see information about the history of the deployment so far.
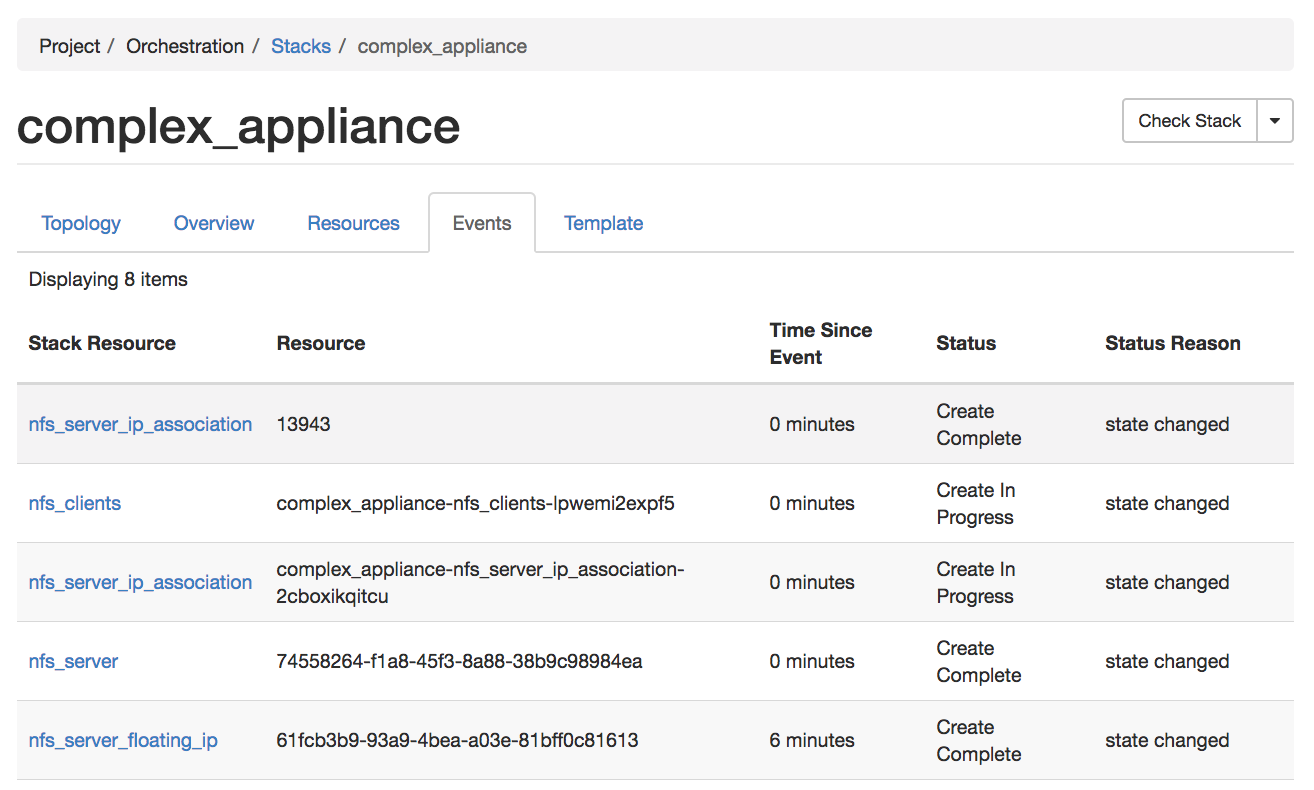
The Events tab
In Template tab, you will see the template that was used to deploy this stack.
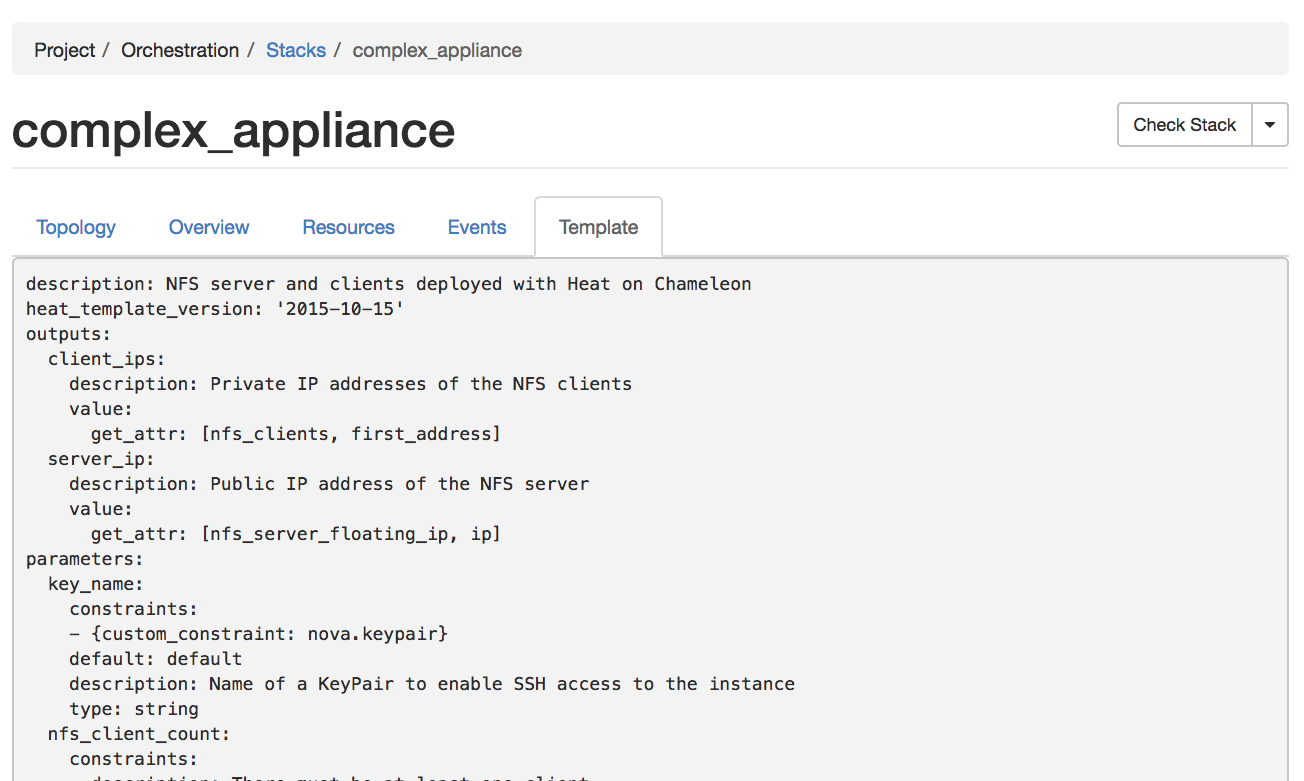
The Template tab
Deleting a Complex Appliance
To delete a Complex Appliance, select it in the Stacks page and click the Delete Stacks button. This will delete all resources of the stack, such as nodes and floating IP addresses.