Graphical User Interface (GUI)
Introduction
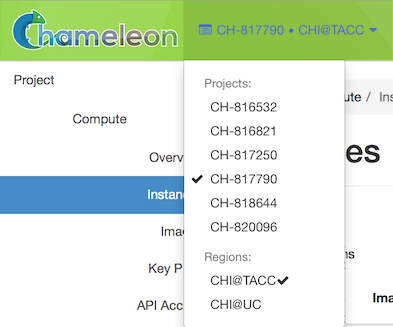
The Graphical User Interface (GUI) provides a point-and-click experience for working with Chameleon resources. From the GUI, you may perform tasks such as manage and launch instances, and configure custom networking. Additionally, you may download an OpenStack RC file from the GUI if you wish to work with the Command Line Interface, instead. The Chameleon GUI is built on top of OpenStack Horizon. There are two Chameleon resource sites, each with its own URL (though it is possible to easily switch from one to other, see Project and Site Menu).
The Texas Advanced Computing Center resources (CHI@TACC) are available at:
The University of Chicago resources (CHI@UC) are available at:
Chameleon also hosts an OpenStack KVM implementation where you may work with virtual machines. This site does not have access to bare metal resources. It is available at:
This section provides an overview of features available on the GUI for the bare metal sites at the Texas Advanced Computing Center (CHI@TACC) and the University of Chicago (CHI@UC). For information about OpenStack KVM, please see KVM.
You may login to either site using your Chameleon portal username and password.
Attention
Each Chameleon testbed sites—CHI@TACC, CHI@UC, and KVM@TACC—are independent, so snapshots, keypairs, Swift containers, Gnocchi metrics and other objects are unique to each site. For example, a keypair created at the CHI@TACC site is not available at the CHI@UC site. In addition, the bare metal resource types vary between sites.
GUI Features
Upon logging in to the GUI at a Chameleon site, you will see your project’s Overview page.

The Chameleon GUI
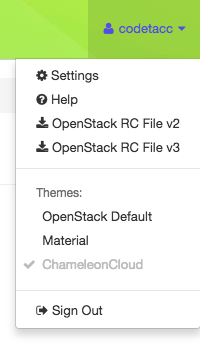
Settings
In the settings menu, you can change user specific settings such as the Timezone.
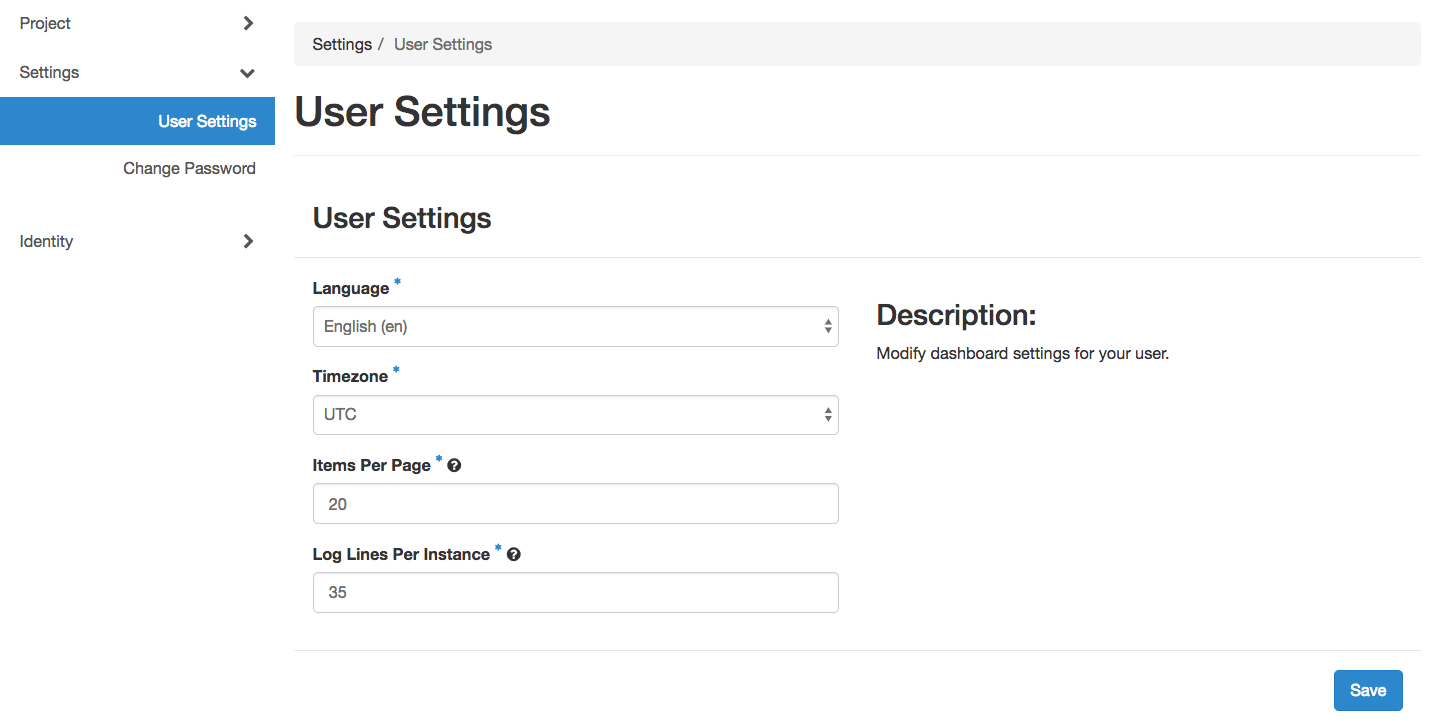
User settings
Note
Updating your timezone is highly recommended. When you make reservations for bare metal resources, your local time will be used. UTC is the default Timezone.
Help
The Help menu item will take you to this documentation site.
OpenStack RC File
Clicking on this menu items will download a customized RC file for use with the OpenStack
Command Line Interface. Source the RC file using source command to configure
environment variables that allow you to easily log in using the Command
Line Interface. For more information about OpenStack RC script, please
see The OpenStack RC Script.
Themes
You may change the GUI theme by selecting the provided menu items.
Sign Out
Use the sign out menu item to sign out from your current site.
Note
If you do not sign out manually, your session will expire in one hour.
API Access
The API Access page lists all the available REST APIs that are used for configuring the Command Line Interface (CLI). In addition, you may download The OpenStack RC Script scripts via this page.
Note
Typically, the key generated from your computer will be at
~/.ssh/id_rsa.pub. On Mac OS X, you can run in a terminal: cat
~/.ssh/id_rsa.pub | pbcopy. It copies the content of the public key to your
copy/paste buffer. Then you can simply paste in the “Public Key” box.
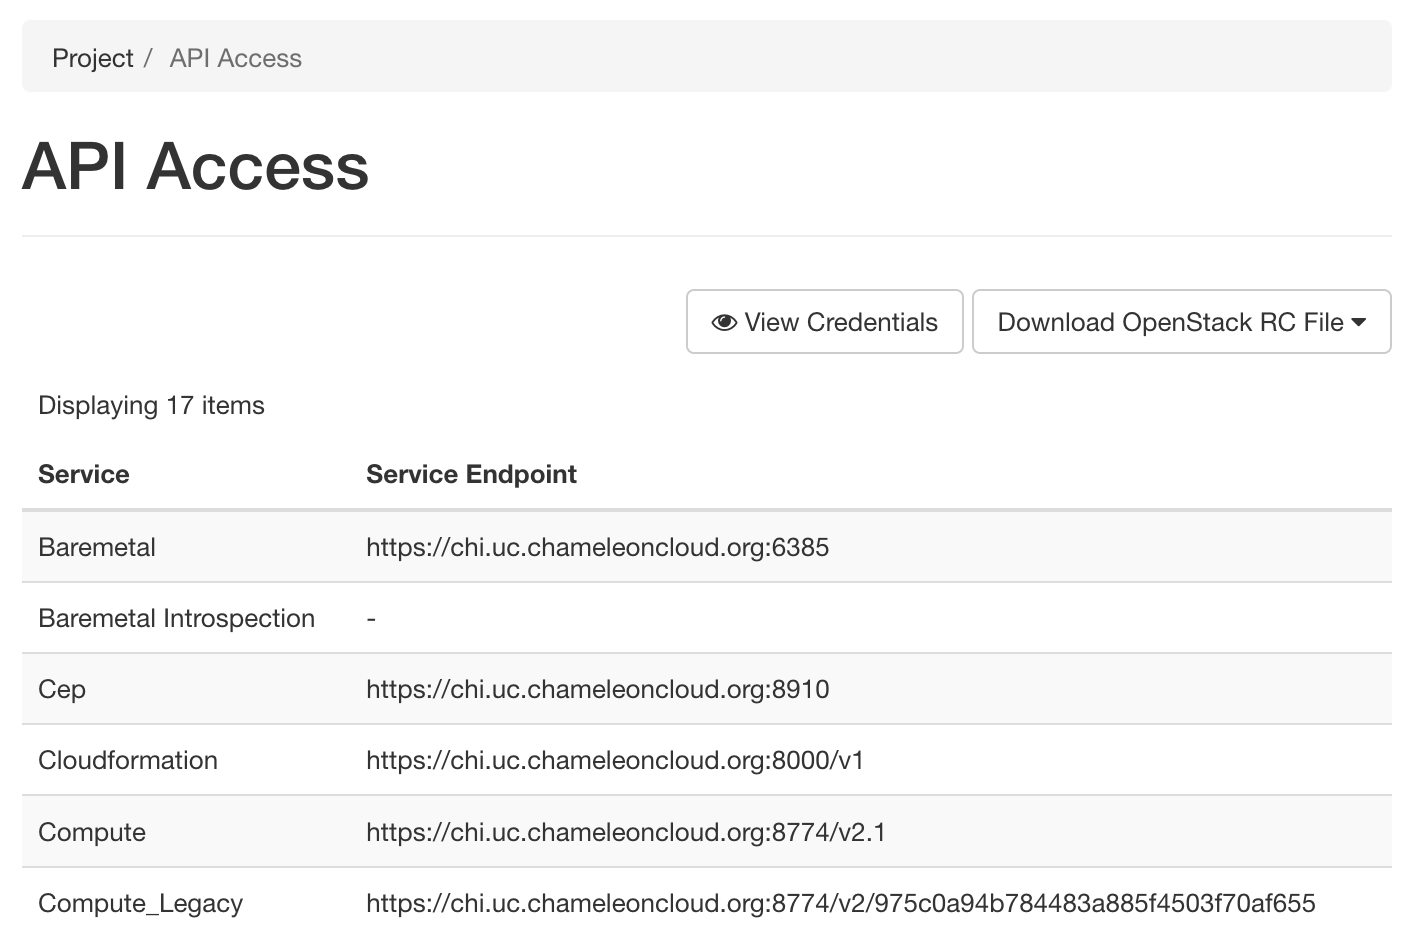
The API Access page
Compute
Use Compute section for reserving, configuring and managing your instances.
Overview
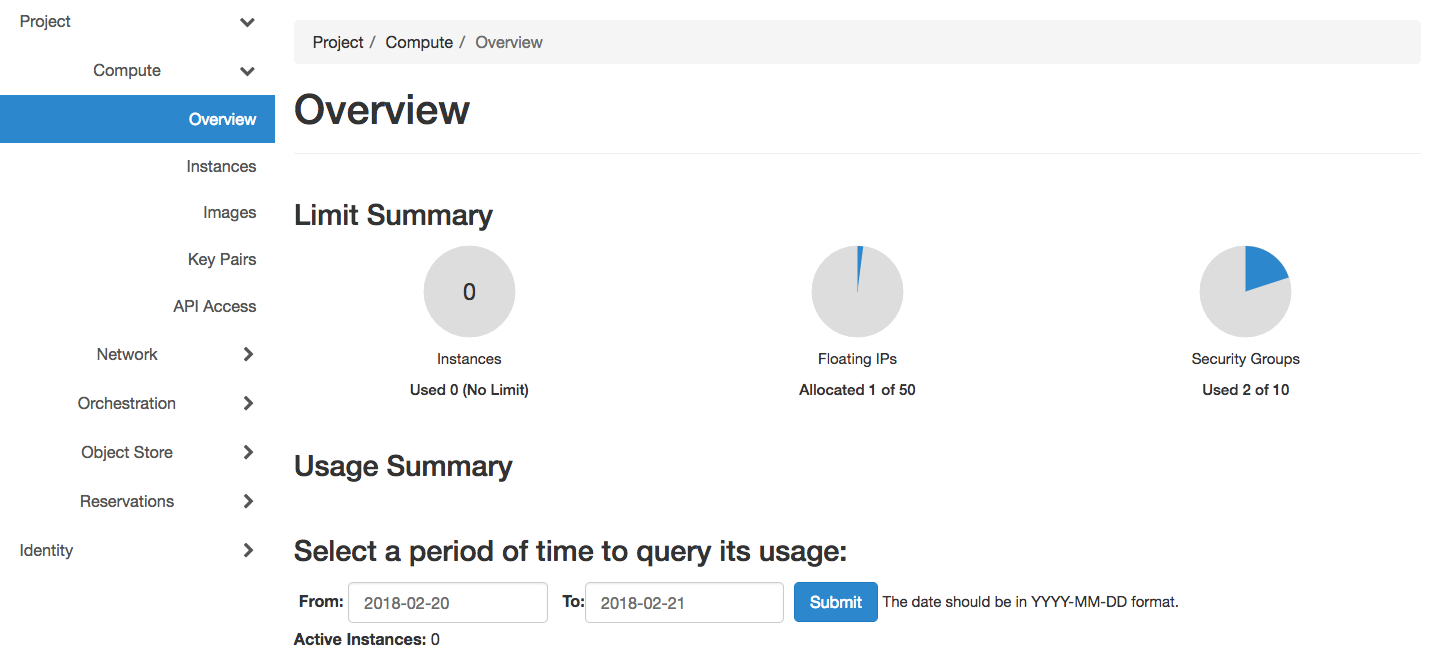
The Overview page provides a graphical summary of your project’s current resource usage.
Note
At the bare metal sites, you may launch as many instances as you like, but bounded by the project Service Unit allocation. However, at the OpenStack KVM site, your project is limited to a certain number of virtual machines. By default, each project is allowed to allocate 50 Floating IP addresses and use 10 Security Groups. You may request additional resources by submitting a ticket on the Help Desk.
Instances
The Instances page allows you to work with your instances. You may launch, terminate, monitor, or reboot an instance. Clicking on the dropdown list in Action column to see what you are eligible to do to your instances.

Images
The Images page allows you to view, upload and edit the images. You may also use this page to launch instance using selected images.
Note
You can only edit the images you own.

Tip
Search for images using the filter bar.
Key Pairs
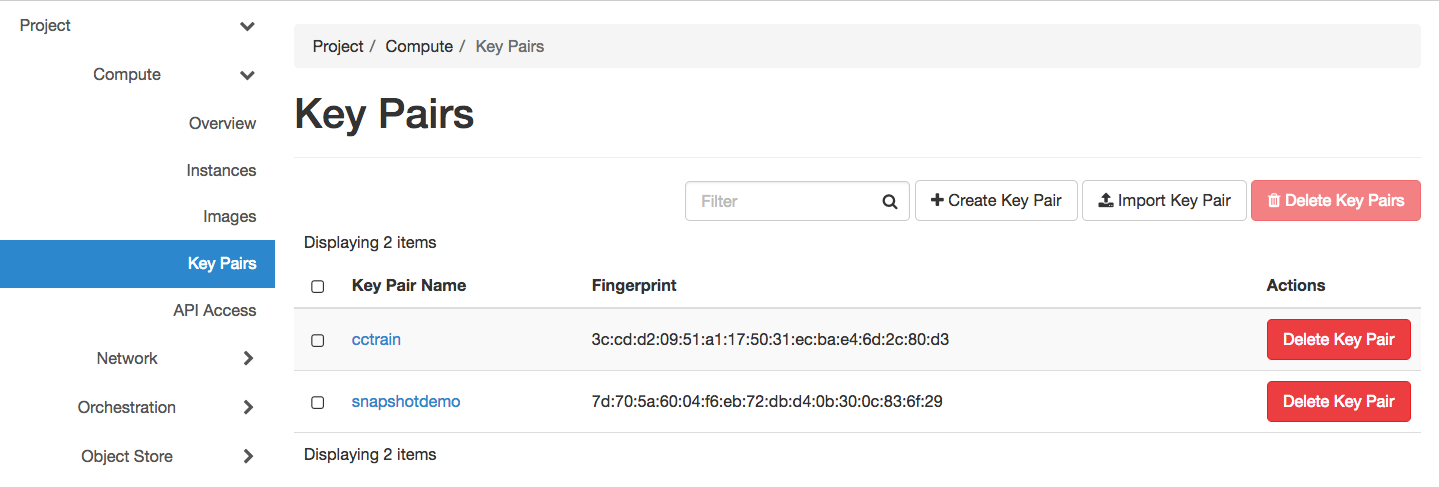
The Key Pairs page allows you to create, import and manage SSH key pairs associated with your user account.
Note
Chameleon only stores the public key for each SSH key pair. Do not upload your private key to the portal! Private keys look like this:
-----BEGIN RSA PRIVATE KEY-----
To delete a SSH key pair, click on the Delete Key Pair button in the Action column. You may delete multiple key pairs by selecting them via the checkbox and clicking the Delete Key Pairs button.
Creating a Key Pair
To create a key pair, click the + Create Key Pair button. In the prompted dialog, provide a name for your new key pair and then click the Create Key Pair button.
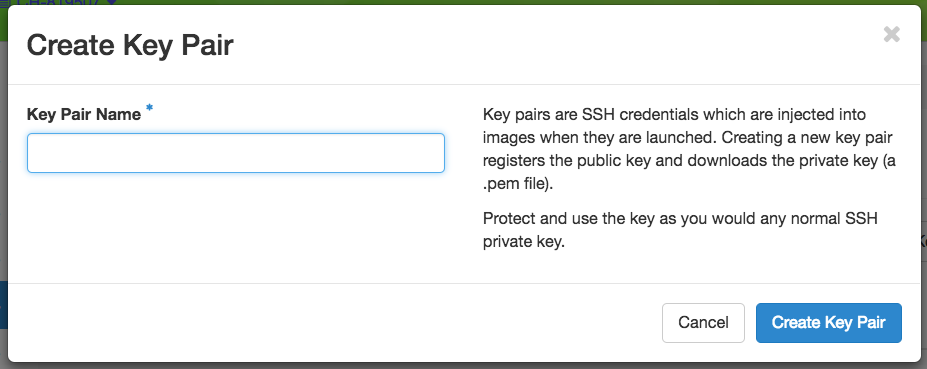
Specifying a key pair name
A .pem file that contains the Private Key should be automatically
downloaded. In addition, the Public Key associated with the Private Key
should be saved automatically to Chameleon. Clicking on the Regenerate and
download Key Pair button will generate a new Public/Private Key Pair and
initiate a new download of the Private Key.
Tip
Save the Private Key to a location you will remember at your local file system. Your home directory is recommanded for macOS and Linux systems.
Importing a Key Pair
Alternatively, you may import a key pair that you have generated on your computer. Clicking the Import Key Pair button to prompt the dialog. Then, provide a name for your imported key pair and paste the Public Key.
Tip
The prompted dialog contains the instructions on how to generate a key pair using the Linux/macOS command.
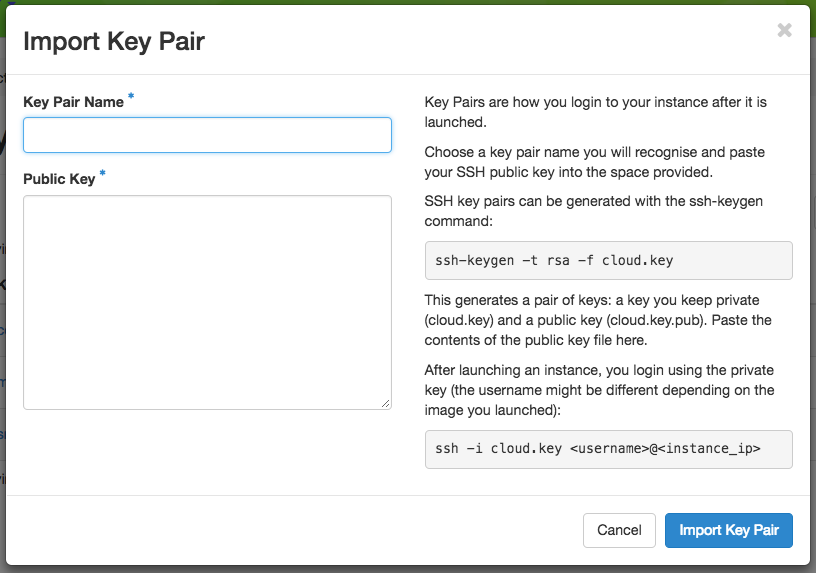
Importing a public key
Tip
Typically, the key generated from your computer will be at
~/.ssh/id_rsa.pub. On Mac OS X, you can run in a terminal: cat
~/.ssh/id_rsa.pub | pbcopy. It copies the content of the public key to your
copy/paste buffer. Then you can simply paste in the “Public Key” box.
Network
The Network section allows you to work with virtual network resources, such as configuring routers and virtual networks. For more information, please see Networking.
Network Topology
The Network Topology page displays your current virtual network topology in either the Topology or Graph formats. You may also use this section to directly launch instances, create networks or create routers.

The Network Topology page
Networks
The Networks page lists all the Virtual Networks of the selected project. You may use this section to create, delete and modify Virtual Networks. Clicking on the dropdown list (if shown) in Action column to see what you are eligible to do to your virtual networks.

The Networks page
Routers
Same as the Networks page, the Routers page allows you to work on the Routers of the selected project.

The Routers page
Security Groups
Use the Security Groups page to create, delete, and modify the Security Groups of the selected project.

The Security Groups page
Floating IPs
The Floating IPs page allows you to work with the Floating IP addresses allocated for the selected project, including associating with instances and releasing back to the pool. Clicking on the dropdown list (if shown) in Action column to see what you are eligible to do to your Floating IPs.

The Floating IPs page
Releasing Floating IP Addresses
Important
The Chameleon Floating IP address pool is a shared and finite resource. Please be responsible and release the Floating IP addresses that are not used, so other Chameleon users and projects can use them!
To release a single Floating IP address, click on the dropdown in the Actions column and select Release Floating IP . You may also release multiple addresses by selecting them via checkboxes and clicking the Release Floating IPs button.
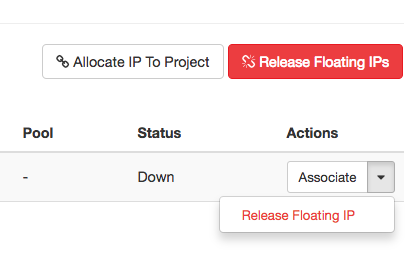
Releasing a Floating IP address
Orchestration
The Orchestration section allows you to work with the Chameleon’s Complex Appliances.
Stacks
A deployed complex appliance is referred to as a “stack” – just as a deployed single appliance is typically referred to as an “instance”. The Stacks page allows you to launch, rebuild, or terminate stacks.

The Stacks page
Tip
After launching a stack, all the instances launched with the stack can be viewed at Compute - Instances section as well.
Note
When you terminate a stack, all instances launched with the stack will be terminated.
Resource Types
The Resource Types page lists the currently available Orchestration Resource Types of Chameleon. You may click on the resource types to get details. The Orchestration Resource Types are used when writing OpenStack Heat Orchestration Template. For more information about OpenStack Heat, please see the OpenStack Heat documentation.

The Resource Types page
Template Versions
The Template Versions are also used when writing OpenStack Heat Orchestration Template. Clicking on the version to get supported features of the specific version.
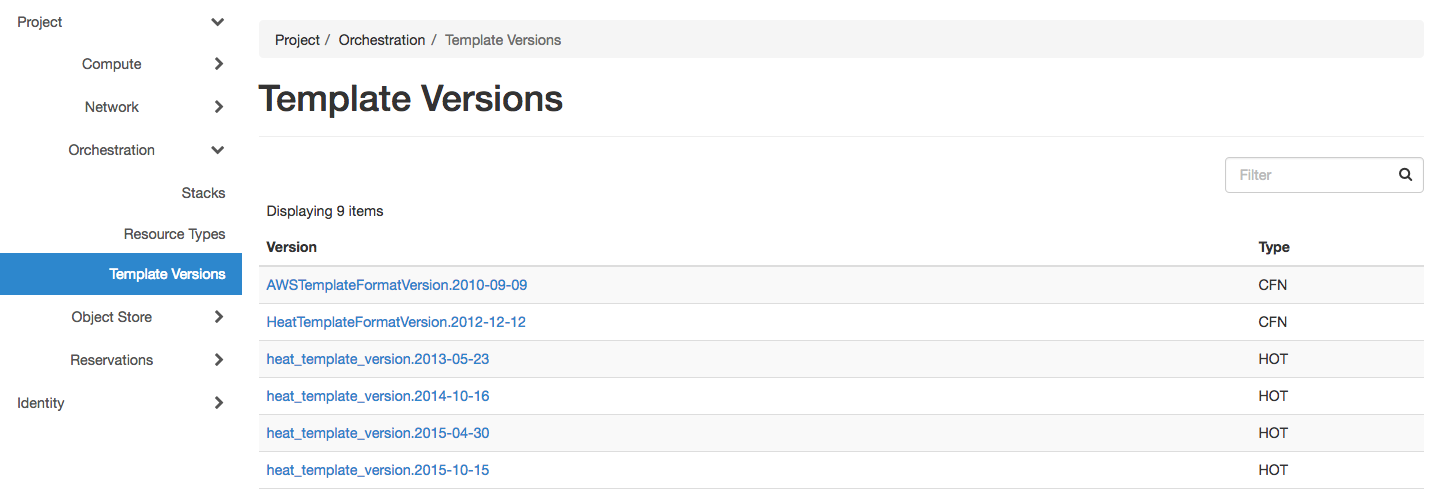
The Template Versions page
Object Store
The Containers section under Object Store gives an easy access to your Chameleon object/blob store. You may create, delete, upload objects to or remove objects from containers via this page. For more information about Chameleon Object Store, please see Object Store.

The Containers page
Reservations
The Reservations section allows you to manage your leases of the selected project, including creating and deleting leases. For more information, see Reservations.

The Leases page
Tip
Check Lease Calendar, so you can schedule your experiments efficiently.
Identity
The Project section under Identity allows you to check what projects you belong to. You can set your default project by clicking the Set as Active Project button in the Actions column.

The Projects page
