Managing shares using GUI
To manage your share, use the Shares page at CHI@UC or CHI@TACC by navigating to Project > Share > Shares.
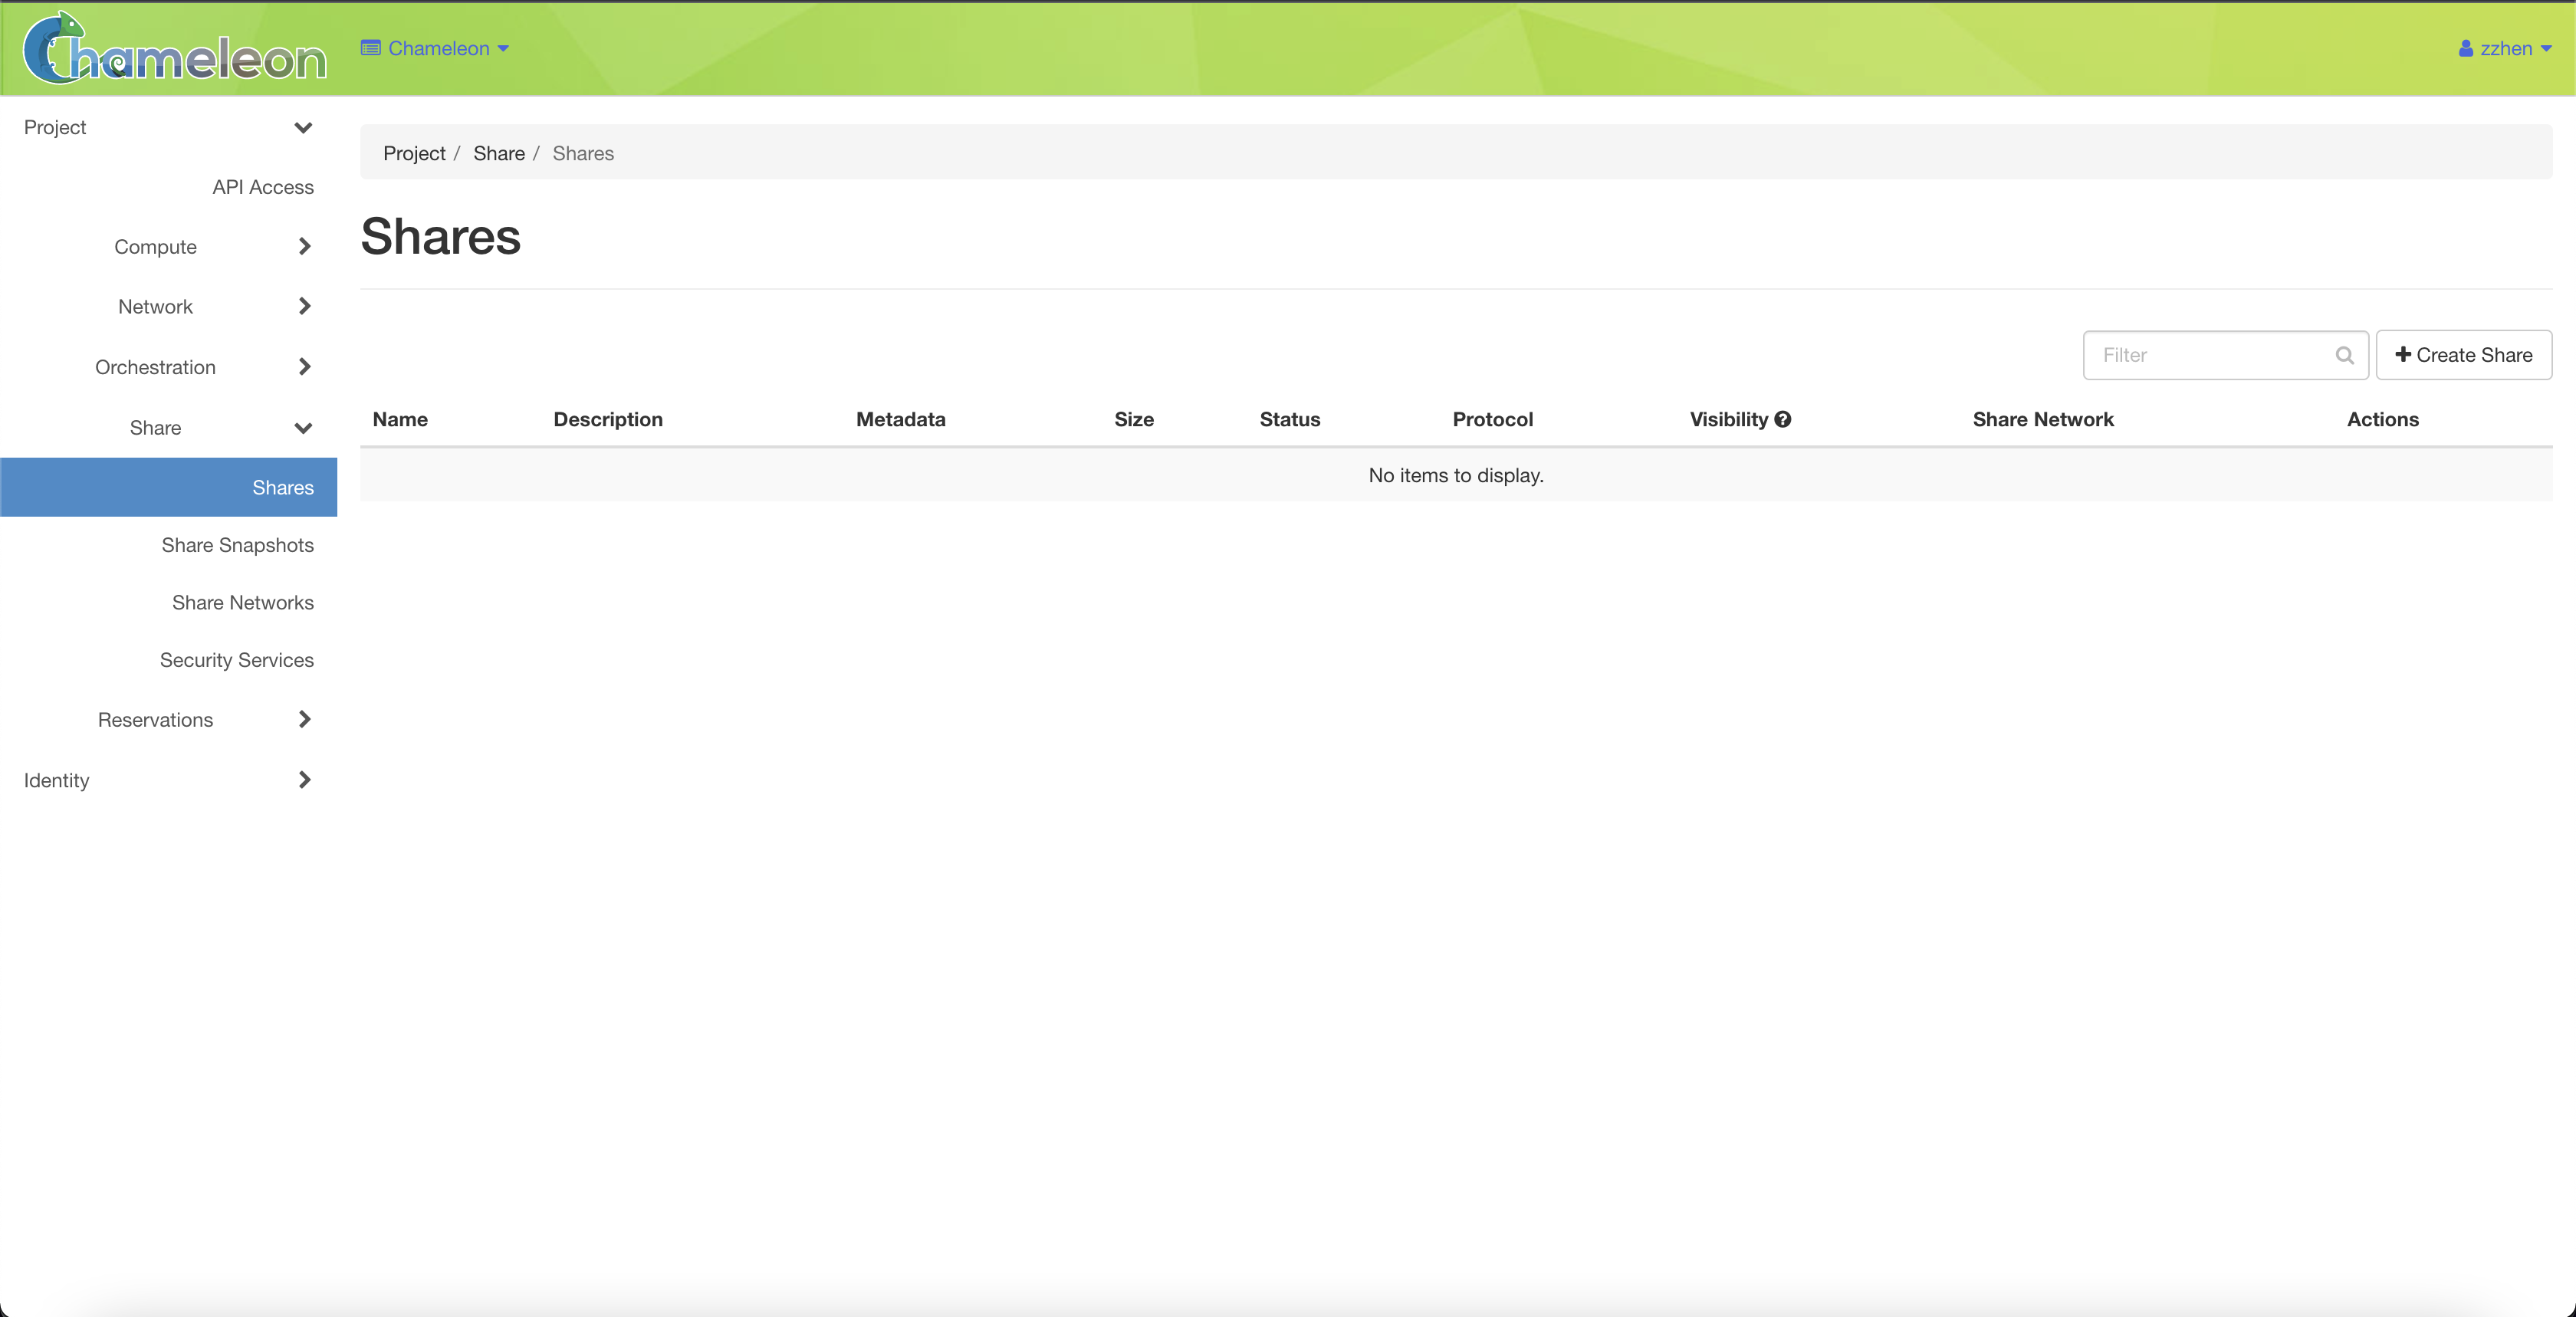
The Shares page
Create share
Click the Create Share button. In the Create Share dialog, provide a name and the size of your share, and then click the Create button to create a share.
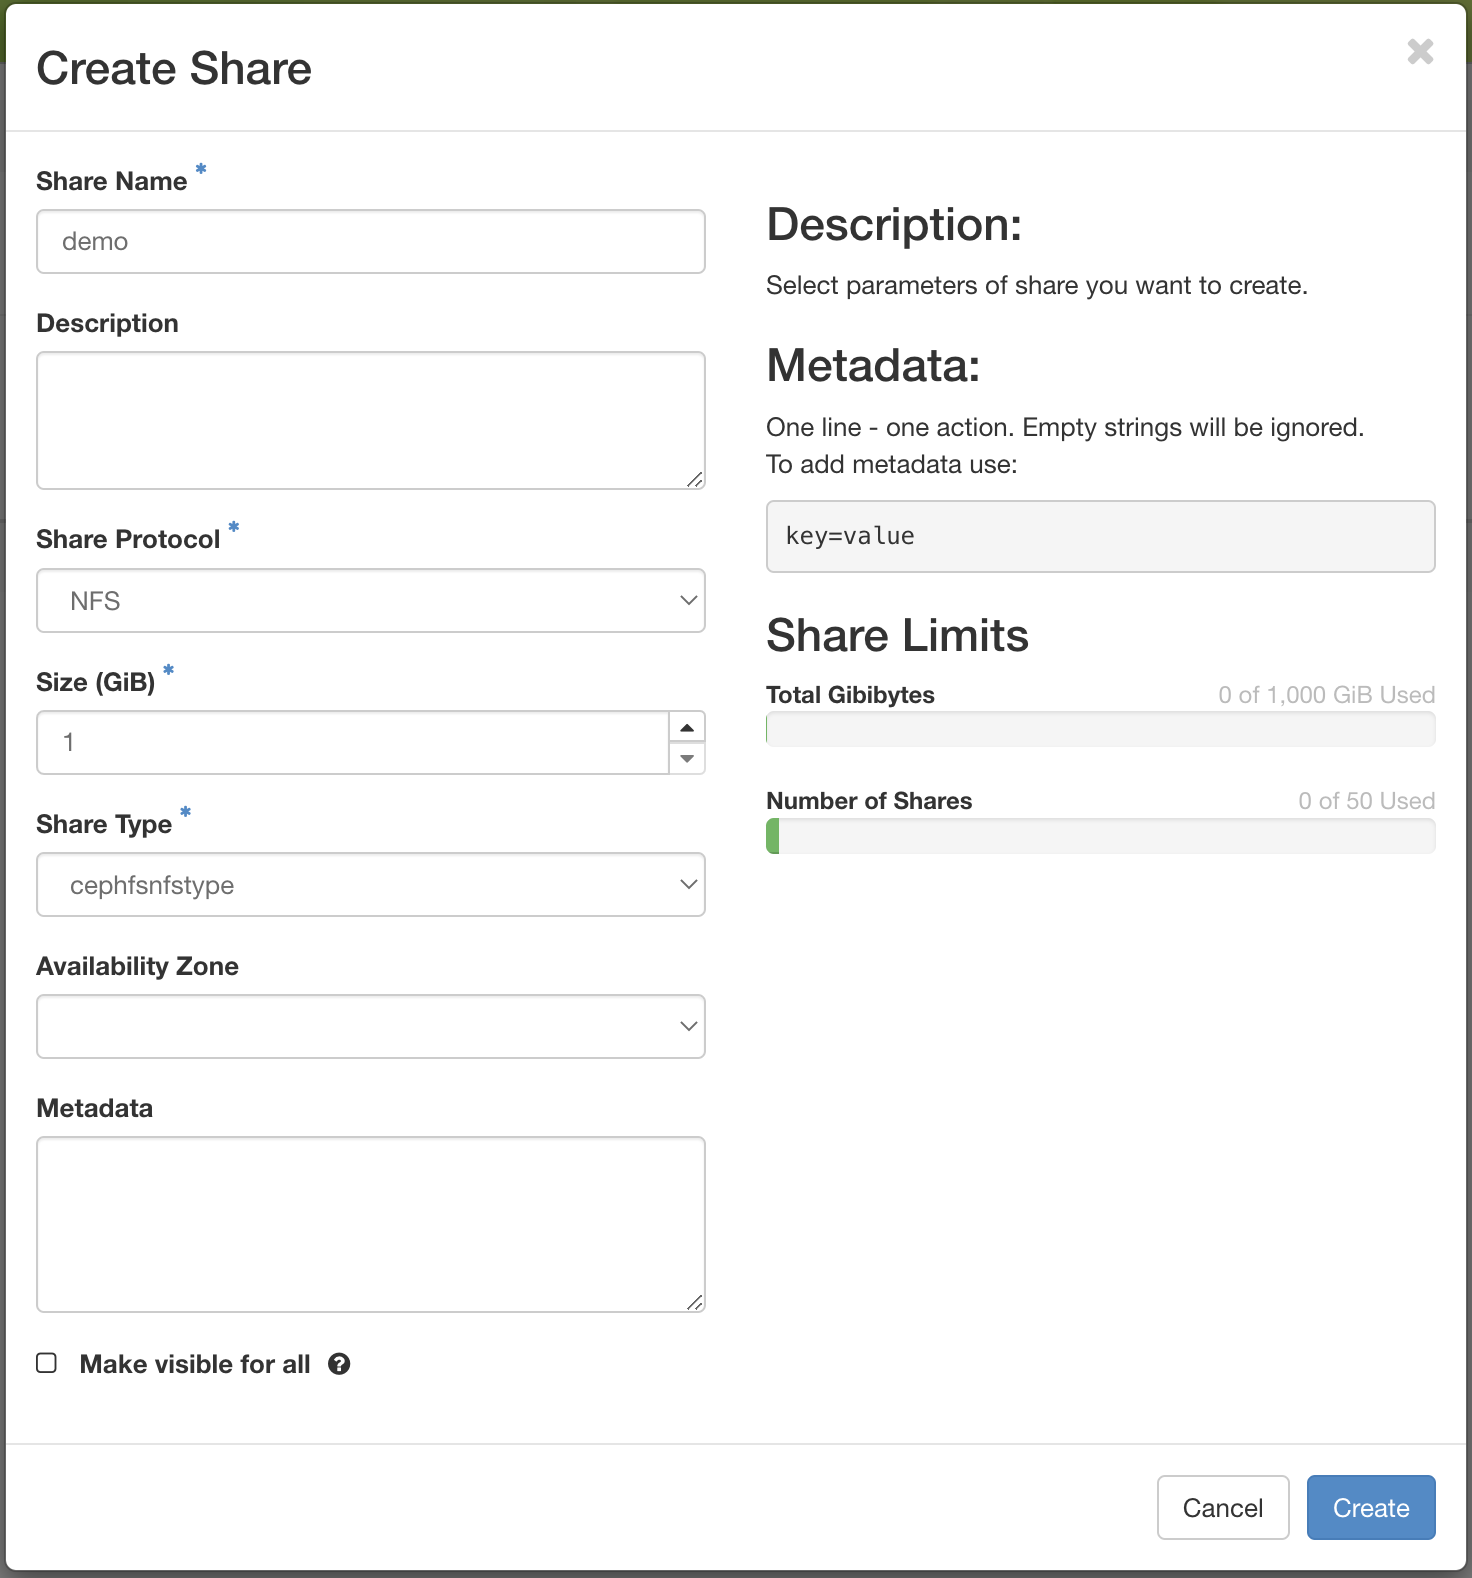
The Create Share dialog
Note
A storage network is not required for creating shares. It’s only required to access the shares.
View share
You can look at the details of a share by clicking the share name in the Shares page. Note that the paths of the export locations are important as you will use this path to mount your share to your bare metal instances. You can also see the other properties, such as visibility and size. The access rules are listed in the share details page, though you can not edit the rules, as they are controlled by the reservation service.
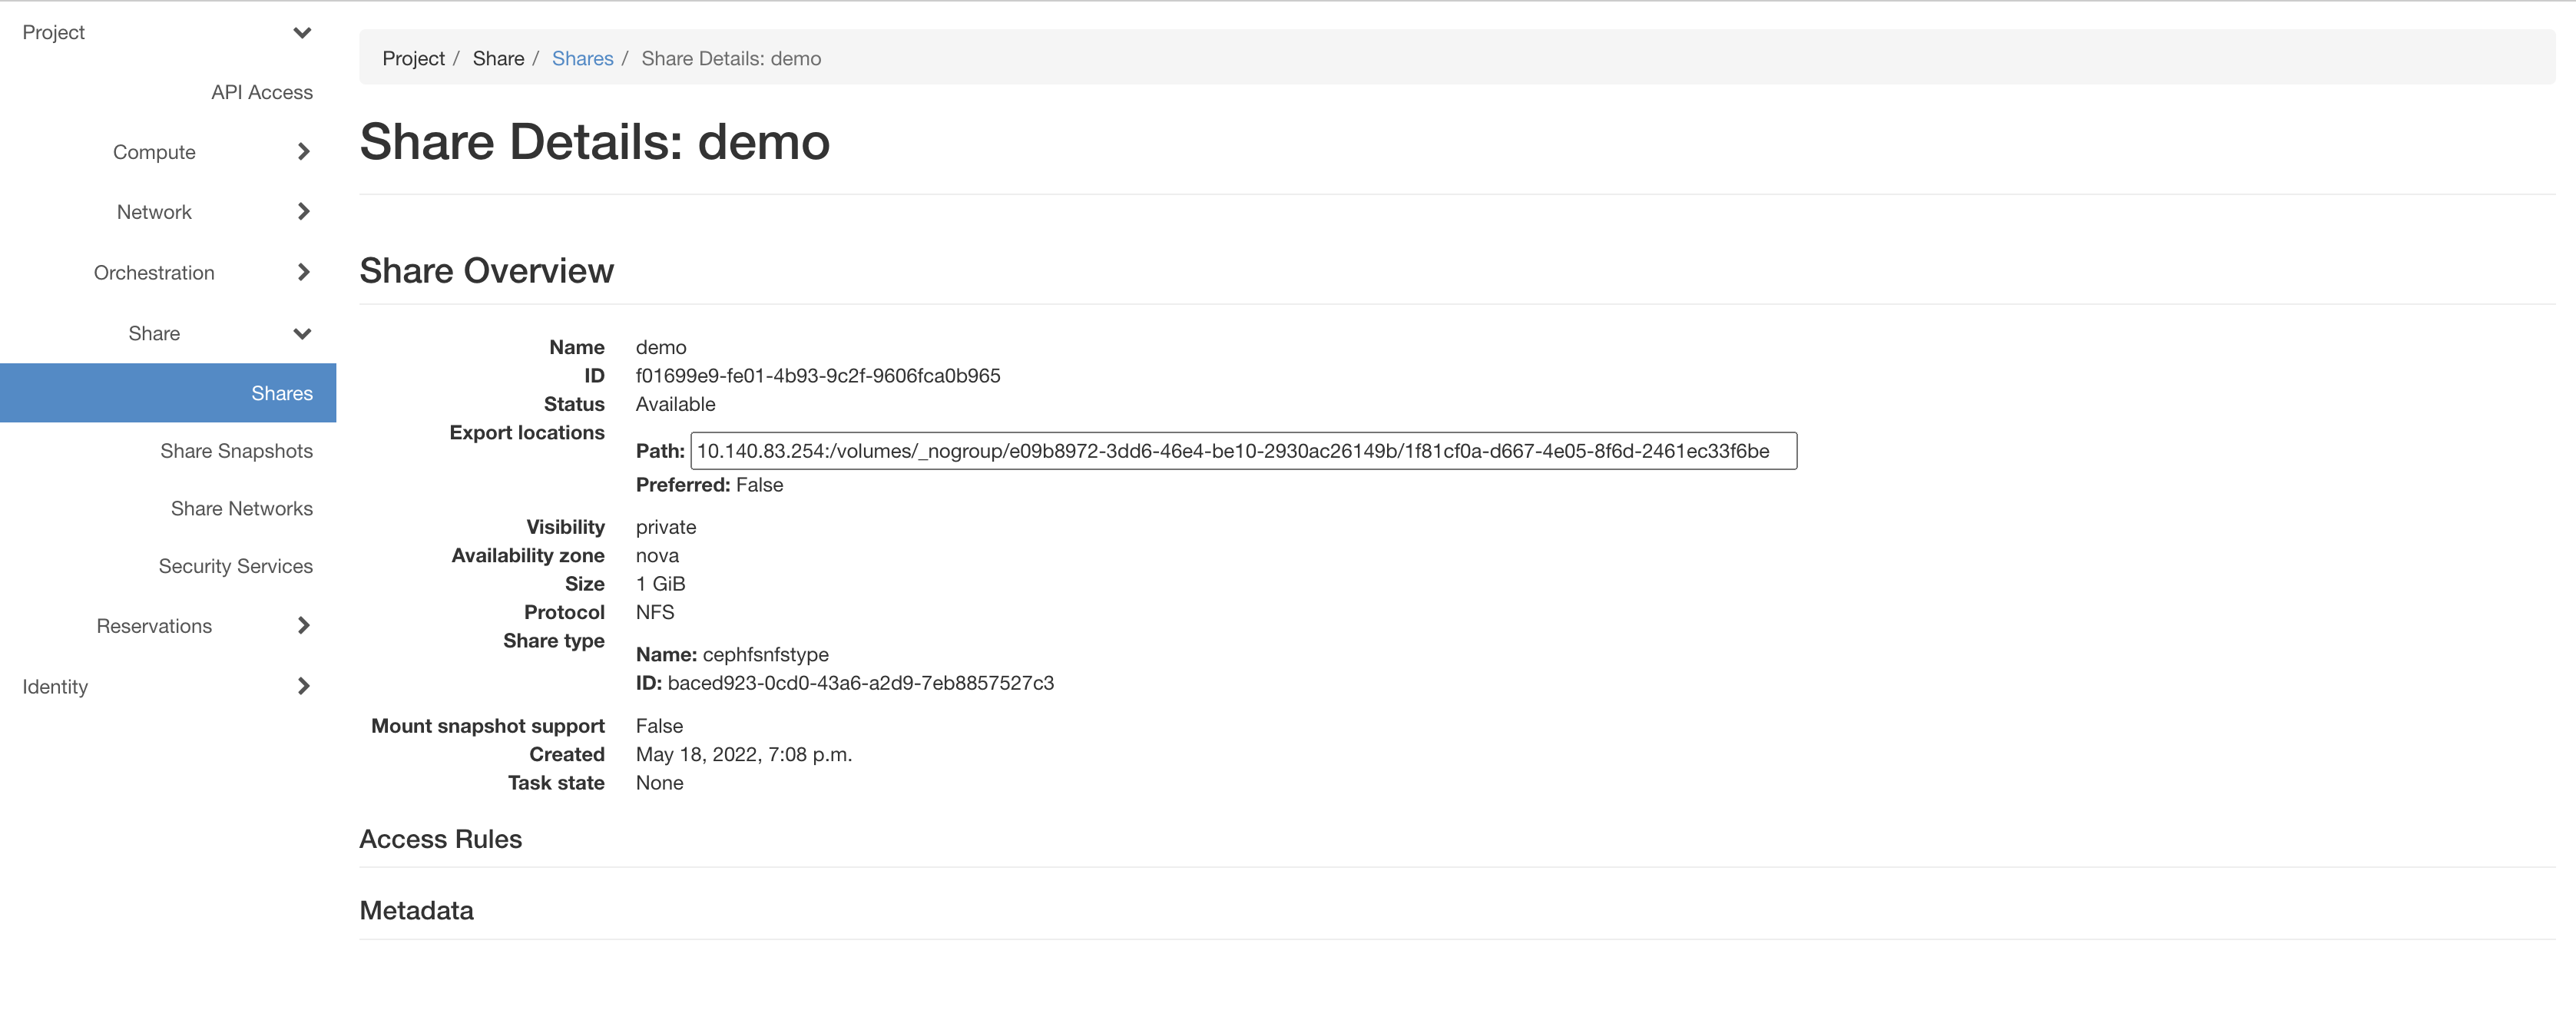
The Share details
Edit share
You can manage the properties and extend the size of a share by clicking the Action dropdown in the Shares page.
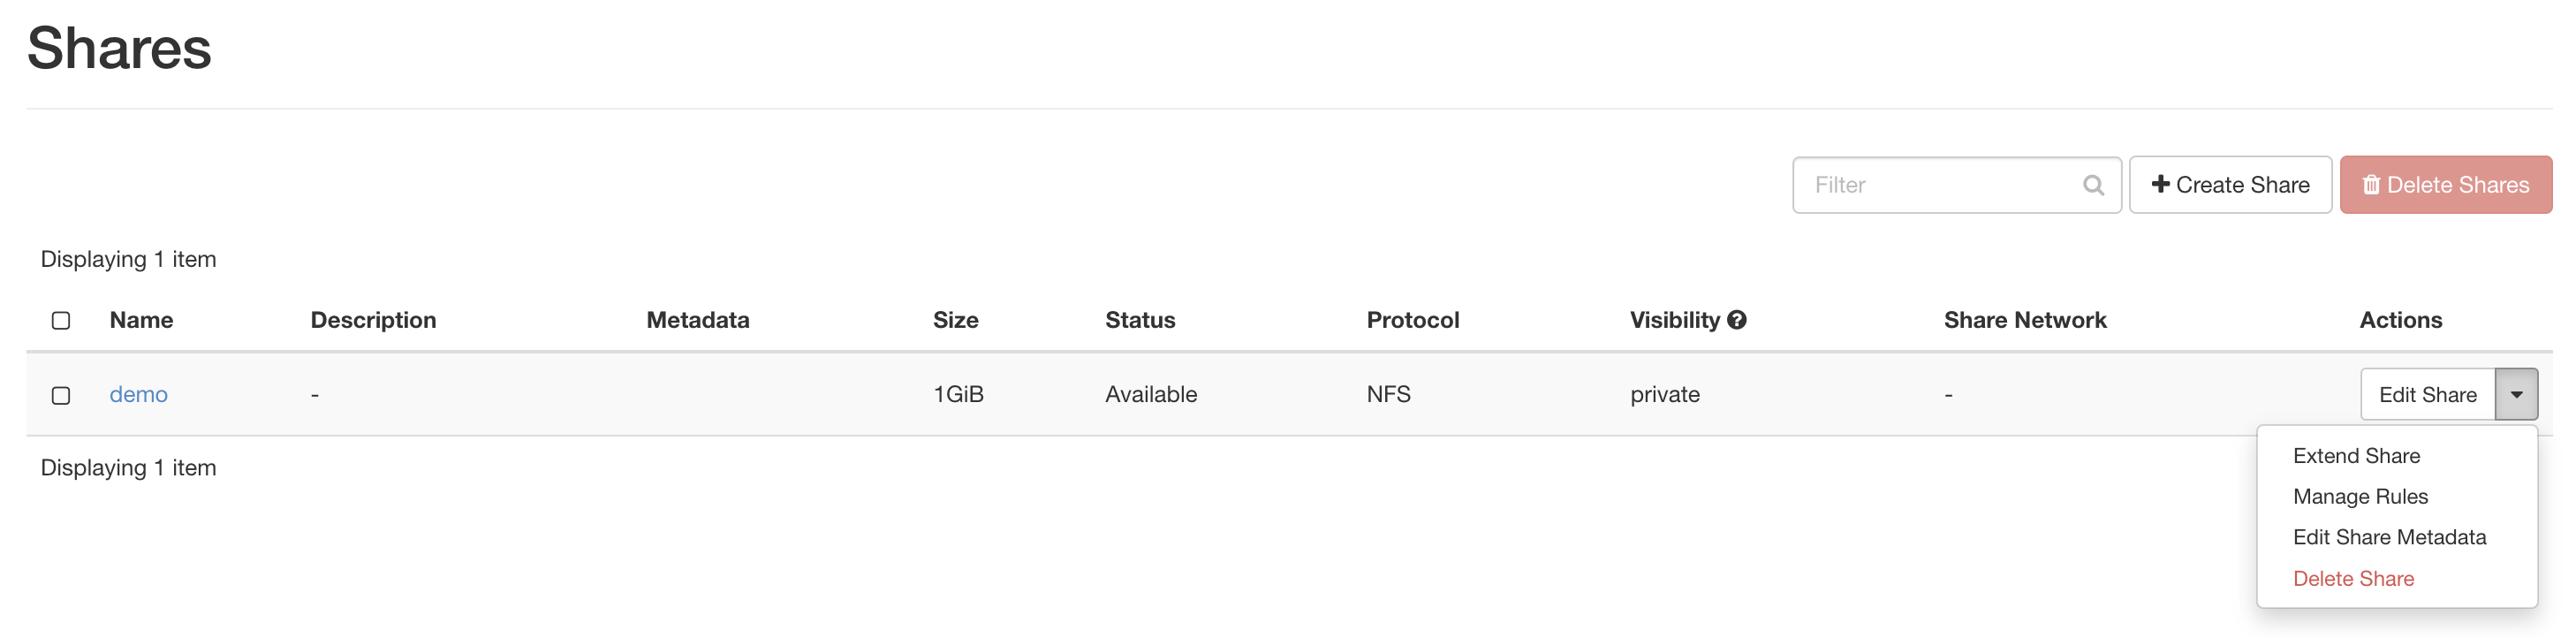
The Action dropdown