Object Store
Chameleon provides an object store service through the OpenStack Swift interface. It is intended to be used for storing and retrieving data used during experiments, such as input files needed for your applications, or results produced by your experiments.
Hint
Chameleon object store service is currently backed by a Ceph cluster with more than 2.1 PB of capacity. The data is replicated, keeping two copies of each object, effectively providing over 1 PB of storage available to users. This storage capacity will increase as the project goes on. The replication should provide good availability in case of hardware failures. However, all copies are kept within the same data center and are not backed up on a separate system; if you feel that this does not provide sufficient reliability in your case, you should consider backing up really critical data externally.
Availability
You can access the Object Store from instances running on CHI@TACC and CHI@UC. Each region has its own store, meaning that objects uploaded to one are not visible to the other. In general you should use the store local to the region where your instances are running for the best performance. To make it easier for you to use the Object Store client, we installed it in all appliances supported by Chameleon. Additionally, you can also access the Object Store from the CHI@TACC or CHI@UC web interfaces under the Object Store panel.
Hint
KVM@TACC users can access the TACC store by using their CHI@TACC OpenStack RC file.
Objects and Containers
Objects are equivalent to individual files. They are stored in Containers, which are data structures that can contain multiple Objects. When uploading Objects, they must be stored inside of Containers. You may perform operations on individual Objects inside Containers, such as downloading or deleting them. You may also work with entire Containers and perform operations such as downloading an entire Container.
Managing Object Store using the GUI
To access the Object Store using the GUI at CHI@TACC or CHI@UC, use the navigation sidebar to go to Project > Object Store > Containers.
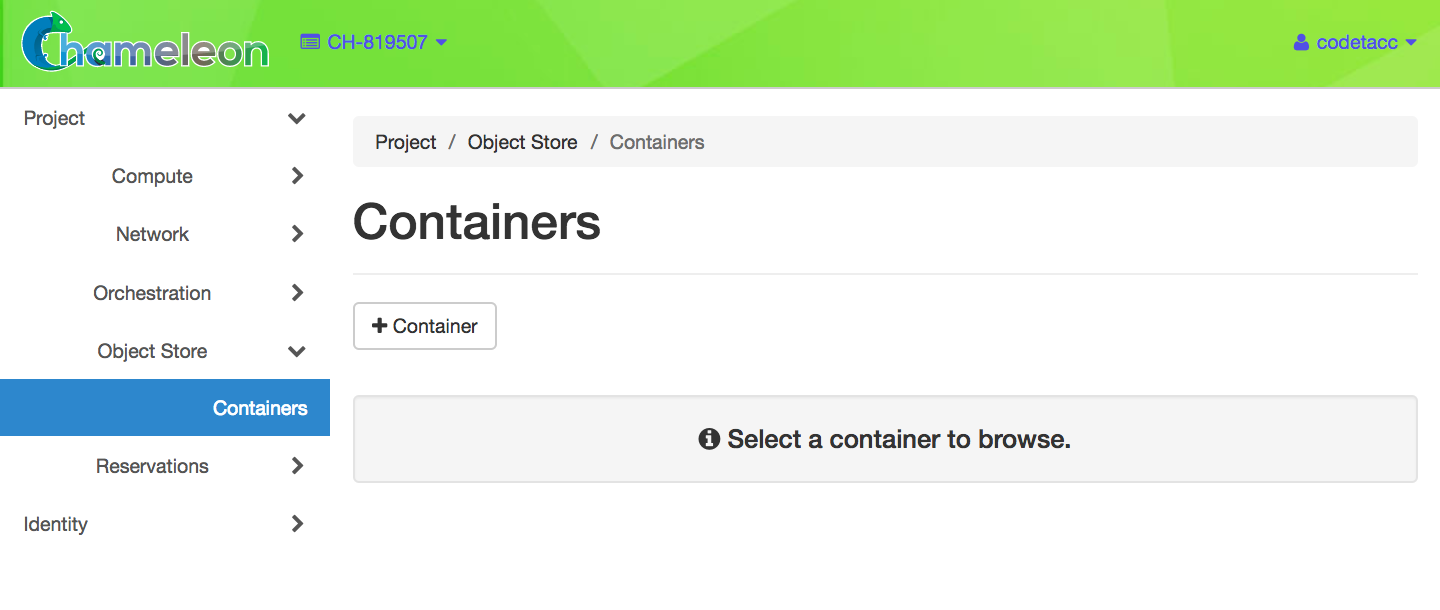
The Containers page
Working with Containers
To create a container, click the +Container button. This will open the Create Container dialog.
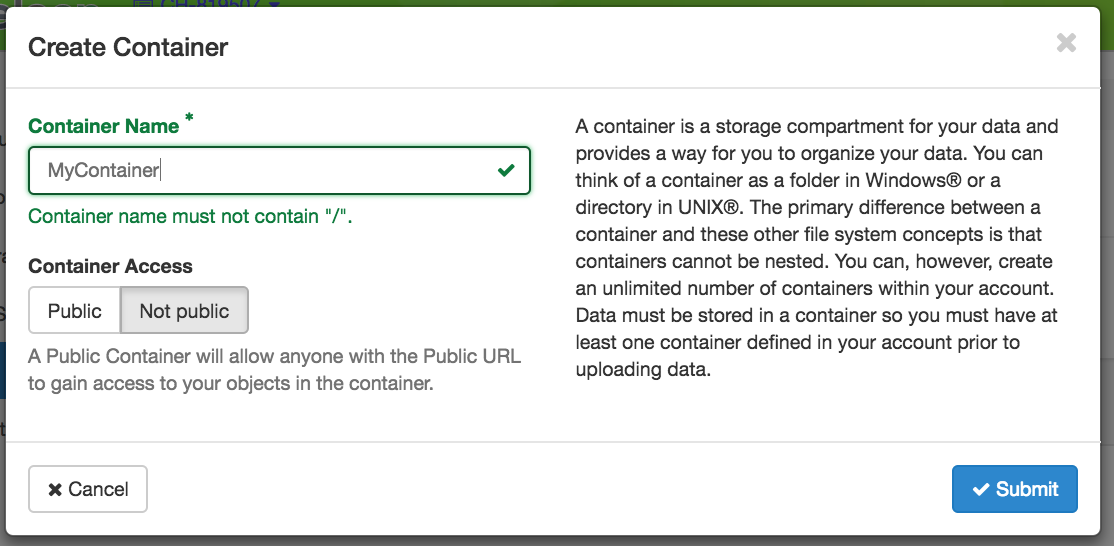
The Create Container dialog
Choose a unique name of your container and set the visibility to either Public or Not Public. When you are finished, click the Submit button. You will see your new Container appear in the list on the Containers page.
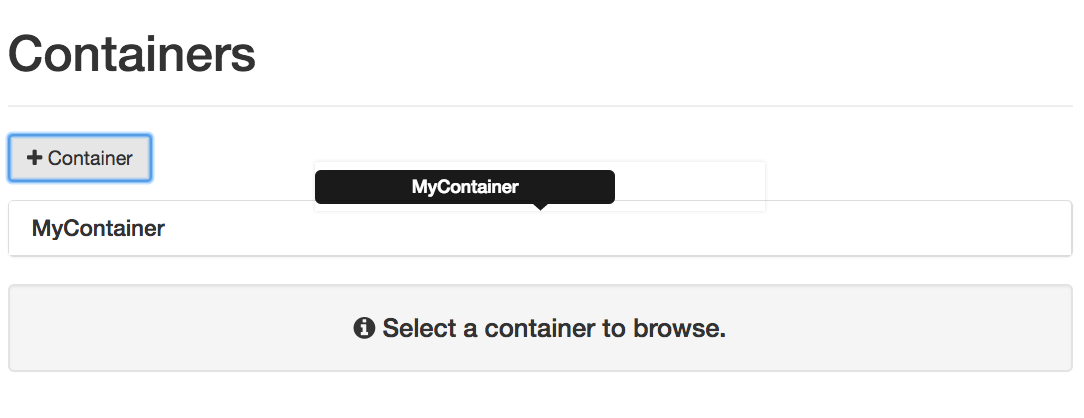
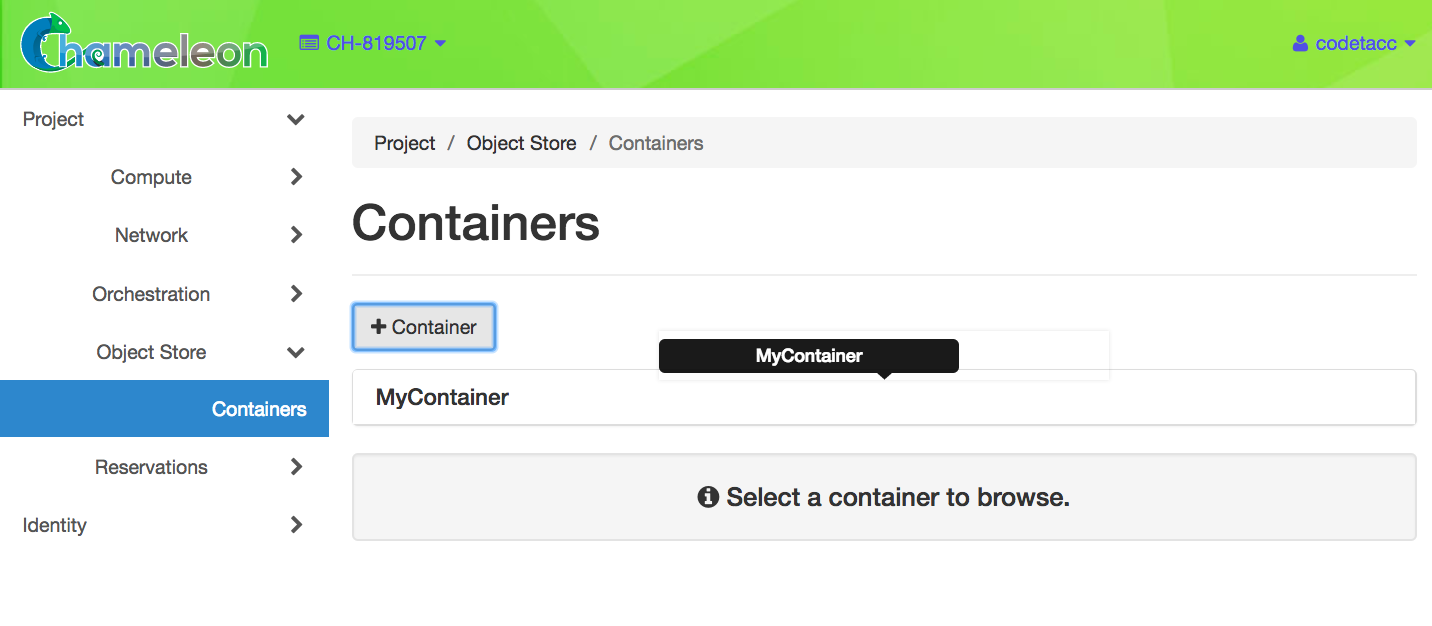
The Container list
You may click on a Container to see the details and work with Objects belong to it.
Container details
Attention
Downloading a container is not available from the GUI. Use the CLI to download containers.
You may delete a container by clicking the Delete icon in the upper right of the Container Detail Panel.

The Delete Container button
Working with Objects
To upload a local file to a container, click the button with the Upload symbol next to the search bar.
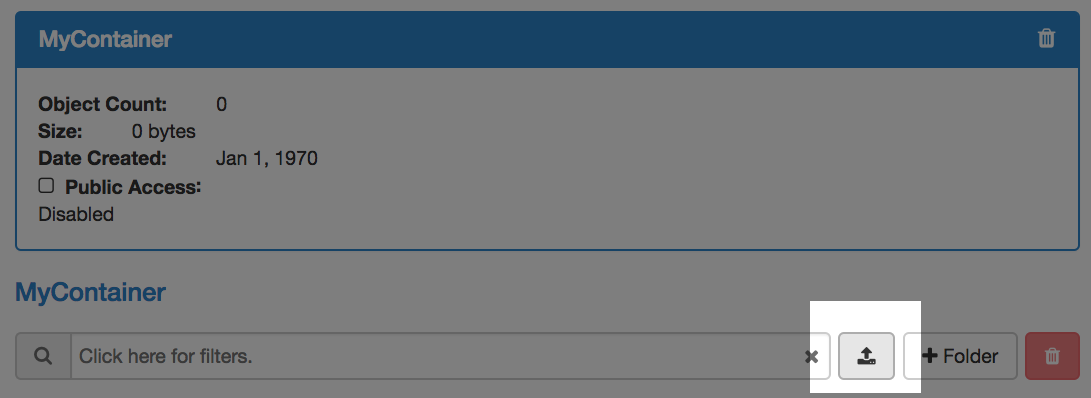
The Upload button
This will open the Upload File dialog.
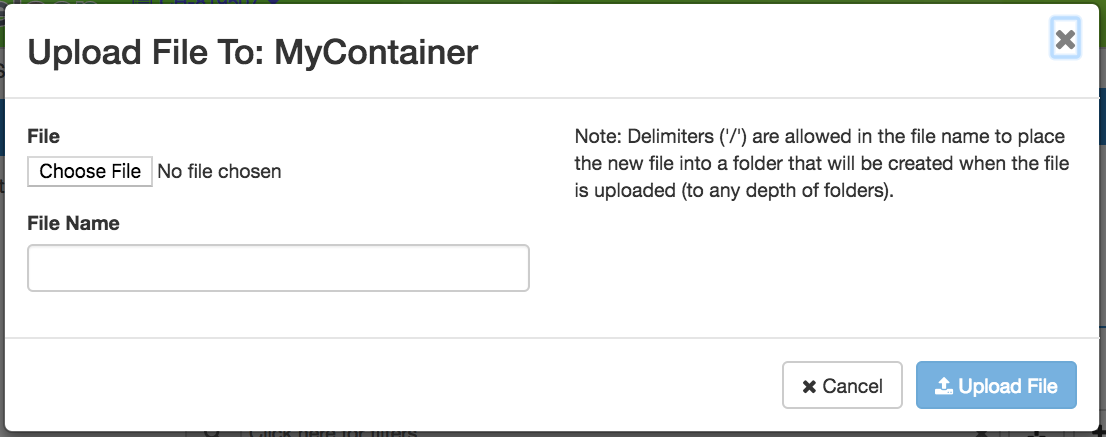
The Upload File dialog
Choose a file to upload from your local file system and give a name to the object.
Working with Folders
If you wish to create a Folder within your Container, click the +Folder button and give a name to your folder in the Create Folder dialog.

The Create Folder dialog
Your new folder will appear in the Container details.
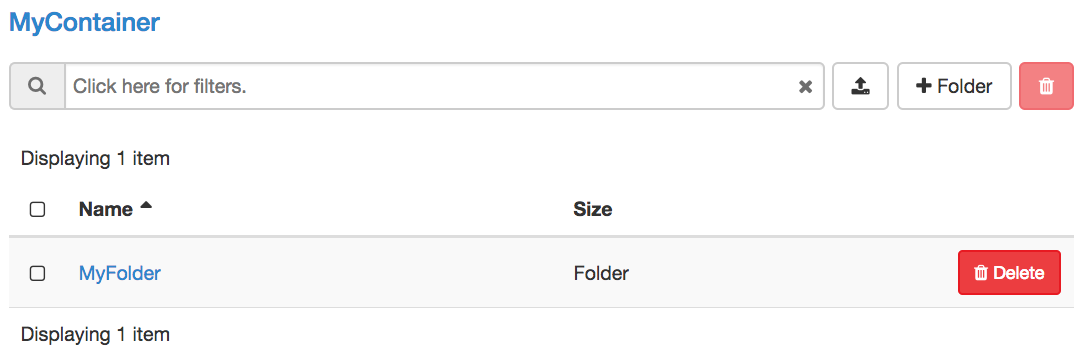
A Container with a Folder
You may browse your folder and upload files to it by clicking on the folder.

A Folder within the Container
Managing Object Store using the CLI
Tip
Reading Command Line Interface (CLI) is highly recommanded before continuing on the following sections.
In addition to Installing the CLI, you must also install
python-swiftclient package:
pip install python-swiftclient
Then, you must set environment variables for your account and project using The OpenStack RC Script.
Working with Containers
To create a Container, use the following command:
openstack container create <container_name>
Tip
By default, the Container created using the above command will not be visible to the public.
To view all containers that belong to your project, run:
openstack container list
Tip
You may use --prefix <prefix> as a filter to list the containers whose
name starts with <prefix>.
To see details of a container, use the command:
openstack container show <container_name>
To view a list of objects within a container, use the command:
openstack object list <container_name>
To download a container with all the objects belong to it, use the following command:
openstack container save <container_name>
To delete a container and wipe out all the objects belong to it, use the following command, and be careful!
openstack container delete --recursive <container_name>
Working with Objects
You may upload a file from your local machine to a container using the following command:
openstack object create <container_name> <local_filename>
Tip
Optionally, you may name the object differently from it’s original name in
your local machine by using the --name parameter.
To delete an object from a container, run:
openstack object delete <container_name> <object_name>
If you wish to download an individual object directly from a container, use the command:
openstack object save <container_name> <object_name>
Large object support
The Swift CLI only supports objects up to 4GB. Larger objects are supported, provided they are uploaded in segments. This advanced functionality is only supported using a separate Swift interface. For a version compatible with Chameleon’s authentication, you need python-swiftclient >= 3.11.1, and to generate and use an Application Credential
pip install "python-swiftclient>=3.11.1"
Instead of invoking commands via openstack, you will instead use the
swift command, which supports a --segment-size parameter, specifying
the segment size in bits. --segment-size 4831838208 is close to the segment
limit of 4GB.
There is also a --changed flag, which prevents uploading of the object if
the checksum has not changed:
swift --os-auth-type v3applicationcredential \
--os-application-credential-id <credential_id> \
--os-application-credential-secret <credential_secret> \
upload --changed --segment-size 4831838208 \
<container_name> <path>
Working with Folders
There isn’t “folders” when you managing the Object Store with the CLI.
However, when you create an object, you may use the delimiter / to specify
the path.
Managing Chameleon Cloud Object Store with AWS CLI
In addition to the Openstack Swift API, Chameleon’s object store can be accessed via an S3 compatible API. Although we don’t directly support them, you can use most s3 compatible clients Chameleon, so long as they allow you to set the endpoint, as well as the “path-style” access url.
As an example, this sections provides instructions on configuring the AWS CLI to connect to our object store.
Prerequisites
Before you begin, make sure you have the AWS CLI installed on your local machine. You can download it from the official AWS CLI website.
Configuration
Obtain Chameleon Cloud Object Store Access Credentials:
To use the AWS CLI with Chameleon Cloud Object Store, you need to obtain your access credentials using the following command:
openstack ec2 credential create
This command will provide you with an Access Key ID and Secret Access Key, which you will use to configure the AWS CLI.
Configure AWS CLI:
Run the following command to configure the AWS CLI with the obtained credentials:
aws configureYou will be prompted to enter the Access Key ID, Secret Access Key, default region, and output format. Enter the values accordingly.
Example:
AWS Access Key ID [None]: <your-access-id-from-openstack-ec2-create>
AWS Secret Access Key [None]: <your-secret-from-openstack-ec2-create>
Default region name [None]: <region-can-be-anything>
Default output format [None]: json
Set Endpoint for Chameleon Cloud Object Store:
The endpoint for Chameleon Cloud Object Store is:
For UC:
https://chi.uc.chameleoncloud.org:7480For TACC:
https://chi.tacc.chameleoncloud.org:7480
Run the following command to set the endpoint:
aws configure set endpoint_url <endpoint-url>
Replace
<endpoint-url>with the appropriate endpoint based on your Chameleon Cloud site.
Usage
Once configured, you can use the AWS CLI commands to interact with Chameleon Cloud Object Store as you would with any S3-compatible storage service.
Example:
# List S3 buckets
aws s3 ls

# Upload a file to a bucket
aws s3 cp local-file.txt s3://<your-bucket>/
Replace
<endpoint-url>with the appropriate bucket name.
That’s it! You have successfully configured the AWS CLI to work with Chameleon Cloud Object Store. For more information this article should help
Mounting Object Store as a File System
Tip
Cloudfuse can upload objects up to 4GB. For larger objects, please use the Swift CLI.
When logged into an instance using Chameleon-supported images, such as
CC-CentOS8 and
CC-Ubuntu18.04, you will see
a directory called my_mounting_point which is a pre-mounted directory to
your Chameleon Object Store at the same site of your instance. Each Object Store
container that you have access to will appear as a subdirectory inside this
mount.
The cc-cloudfuse tool (Source: ChameleonCloud/cc-cloudfuse) is pre-installed in
Chameleon-supported images. It is based on the cloudfuse tool (Source:
redbo/cloudfuse), which is used to mount
your Chameleon Object Store as a directory on your Linux environment.
Important
Some older Chameleon-supported images have an outdated version of this tool installed, which is not compatible with authentication using federated identity. If you wish to continue using a historical image, you should update the tool by following the installation instructions.
To mount, use the following command:
cc-cloudfuse mount <mount_dir>
Now you can access your Chameleon Object Store as your local file system.
To unmount, use the following command:
cc-cloudfuse unmount <mount_dir>
Important
Limitations
The primary usage scenario of the cc-cloudfuse tool is to allow you to
interact with Chameleon Object Store using familiar file system operations.
Because the cc-cloudfuse runs on top of an object store, it is important
to understand that not all functionality will behave identically to a regular
file system.
Symbolic links, file permissions, and POSIX file locking operations are not supported.
Updating an existing file is an expensive operation as it downloads the entire file to local disk before it can modify the contents.
You can mount from multiple nodes, but there is no synchronization between nodes regarding writes to Object Storage.
The mounting root directory can only contain directories, as they are mapped to Object Store containers.
Renaming directories is not allowed.
It keeps an in-memory cache of the directory structure, so it may not be usable for large file systems. In addition, files added by other applications will not show up until the cache expires.
The maximum number of listings is 10,000 items.
Please keep these limitations in mind when evaluating cc-cloudfuse.
Note
You may experience persistence issues when using cc-cloudfuse, especially
when writing large files or writing many files at the same time. Unmounting
and re-mounting usually resolves this.